For many of our readers, shooting in manual mode is the standard but certainly, for some of our readers, manual mode remains a giant, unknown mystery. When I got my first camera with manual settings, I remember playing around with it briefly before deciding it was far too confusing and shooting on Auto was easy. It took a bit of practice and some very patient mentors before I was confident enough to control my own settings and shoot on manual.
So this week, we’re going back to basics. This is great for those who have a camera and are looking to explore the world of manual shooting.
What is Aperture?
Let's keep it simple; Aperture, Controls your depth of field. Full stop!
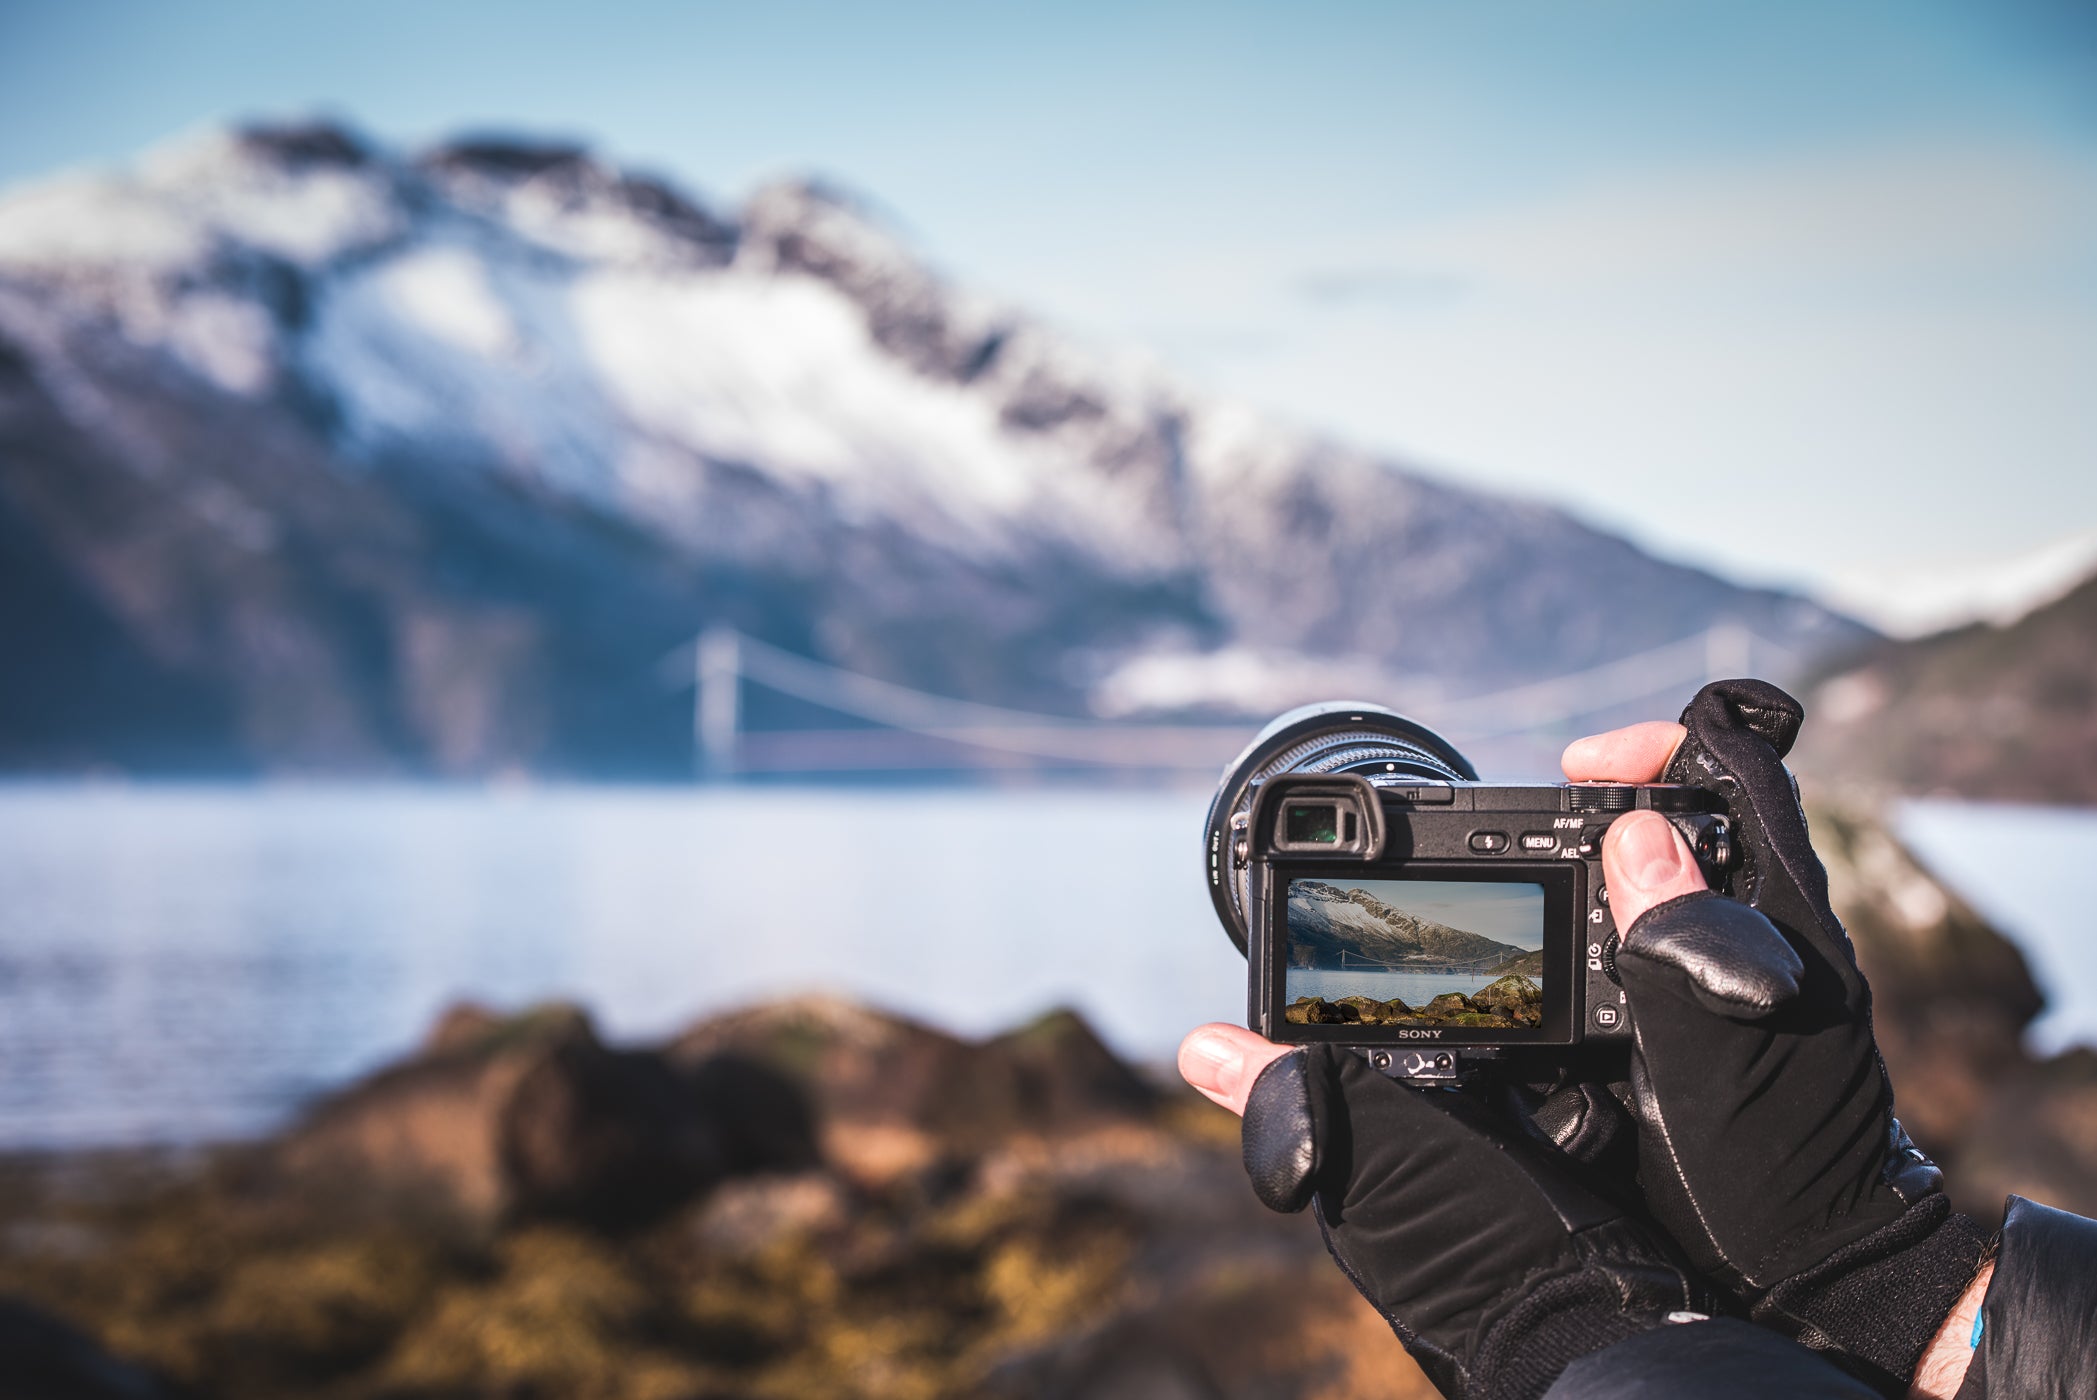
Aperture is used to create space between the foreground and background.
Along with ISO and shutter speed, Aperture is, in fact, one of the main components controlling how much light enters onto your camera sensor, however, its most dramatic feature is controlling the depth of field. Think of blurry backgrounds versus a sharp focus on the whole image.
Aperture refers to a small set of blades in the lens that allows light into the camera’s sensor. The larger the hole, the more light that is let in.
Think of it like the pupil of your eye: the larger the pupil, the more light is allowed into the eye. For photography, a large hole is called a wide aperture and a small hole is a small aperture.
How is Aperture measured?
Just like Celsius is used for measuring temperature and meters are used for measuring length, aperture is measured on a scale called the f-stop scale. This scale is represented by the letter f followed by a / and a number. The number represents how wide the aperture is.
If you really want to get technical, aperture is the ratio of the focal length divided by the opening size. This means, the smaller the f-stop, the wider the opening and the wider the aperture. It may seem counter-intuitive but the smaller the number on the f-stop scale, the larger the hole in the camera.
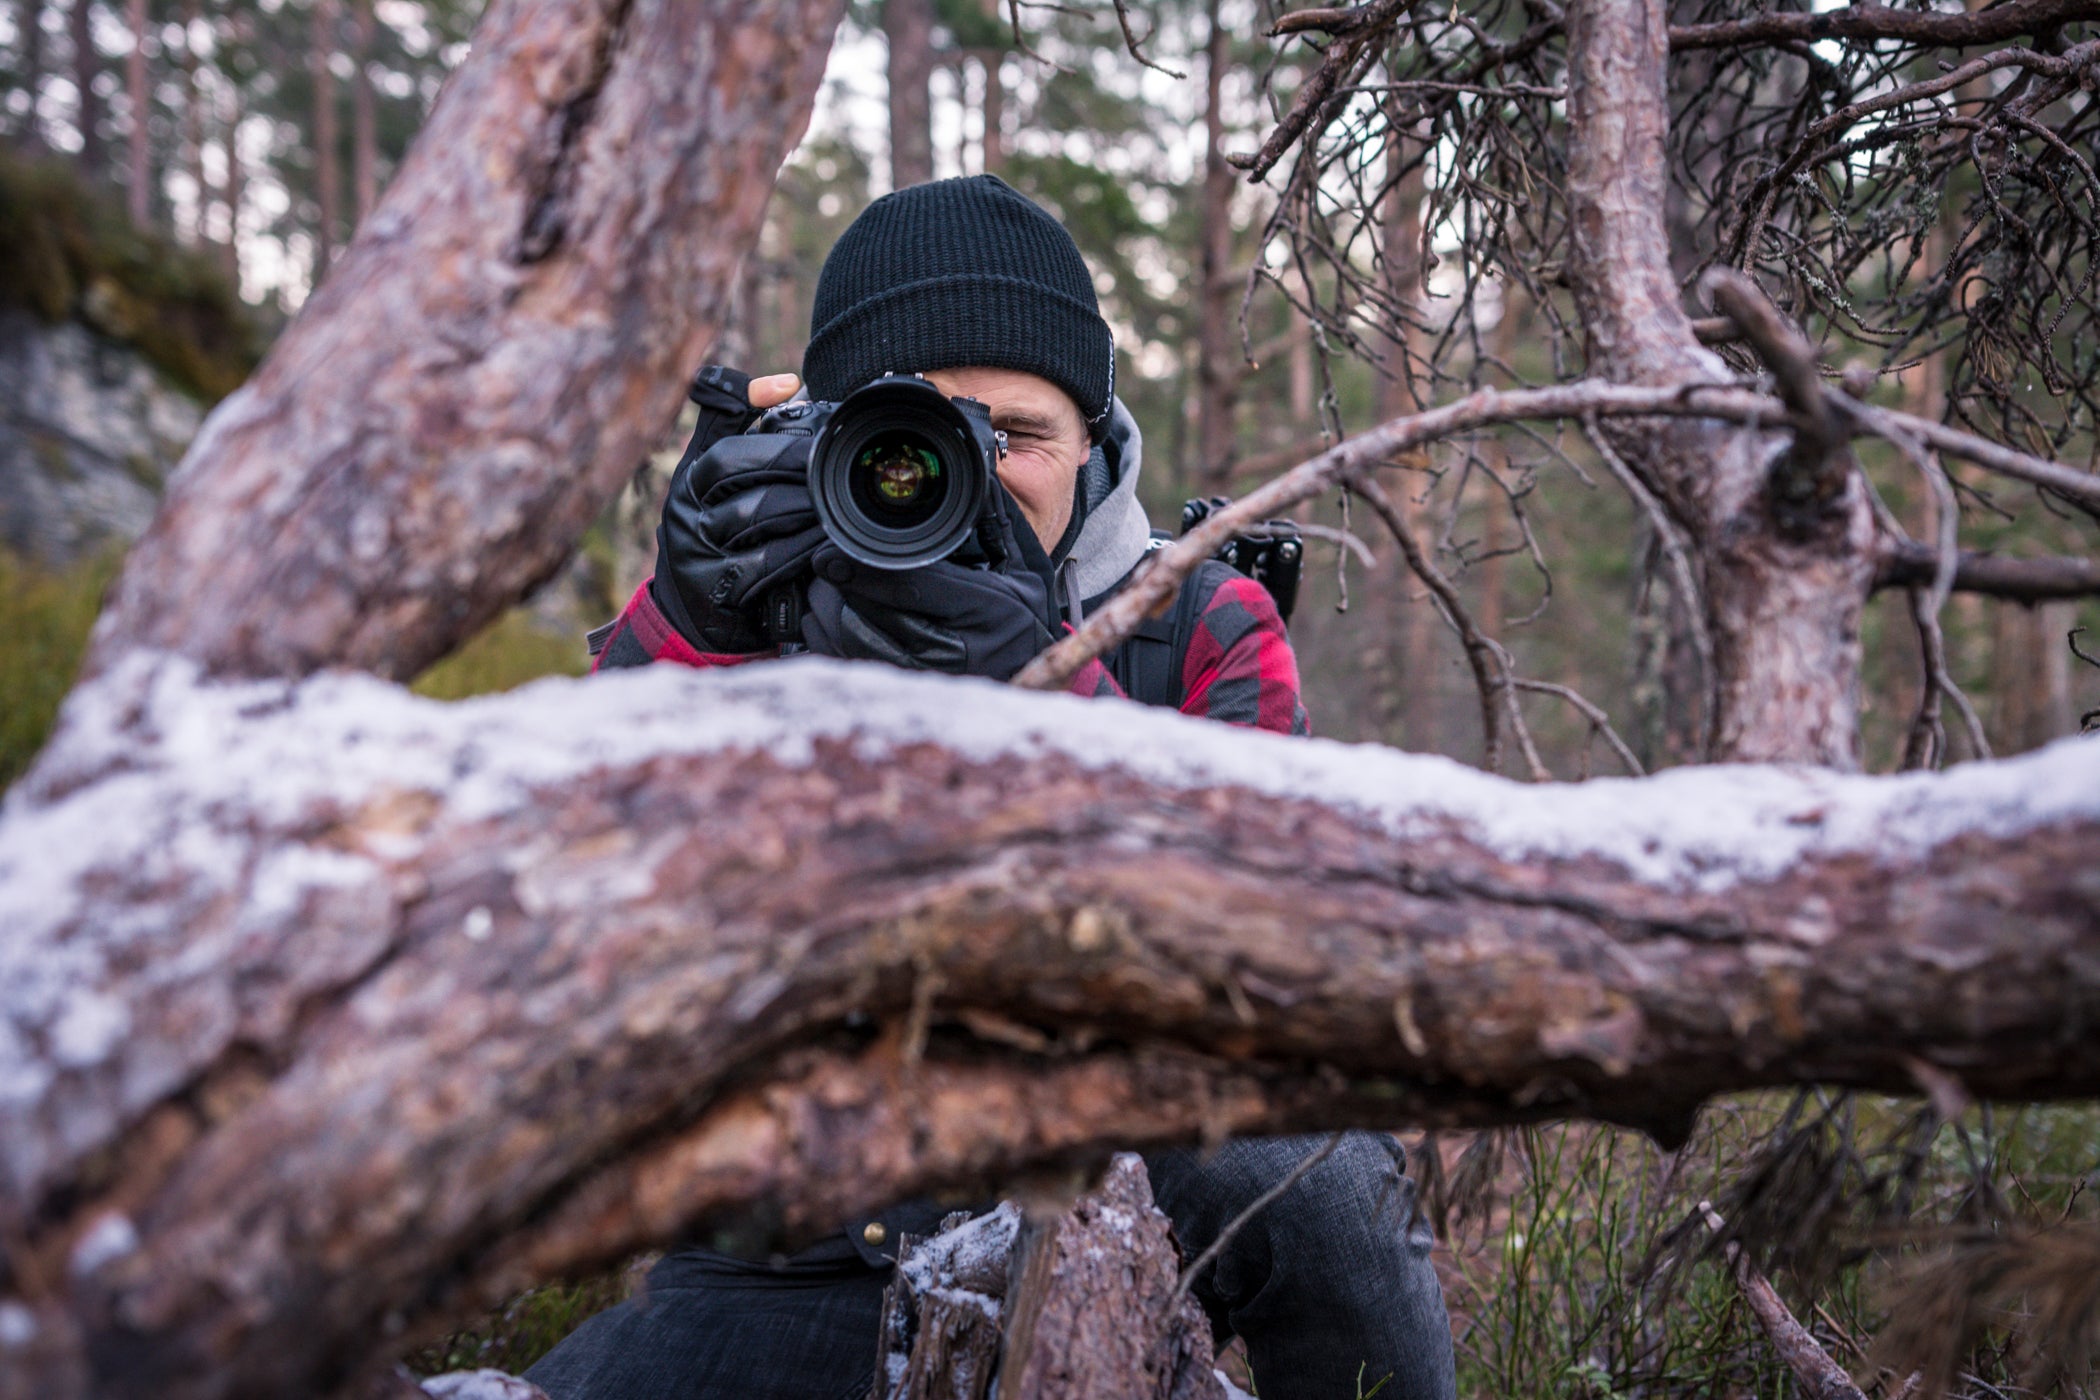
Using a wide aperture in this photo allows the foreground and background to be blurry, leaving only the subject in focus.
How does it affect depth of field?
Changing the f/stop value largely affects the depth of field. For a landscape photo where you want to have everything in focus, you’ll want a small aperture. For a portrait where you want one subject in focus and the rest to be blurry, you’ll use a wide aperture, creating distance between the subject and the background.
For winter photographers, it’s often easy to shoot with a small aperture in bright, snowy conditions. This means most of the items in the photo will be in focus. If you want to make the aperture wider, you’ll need to adjust the ISO and the shutter speed so you don’t overexpose the photo.
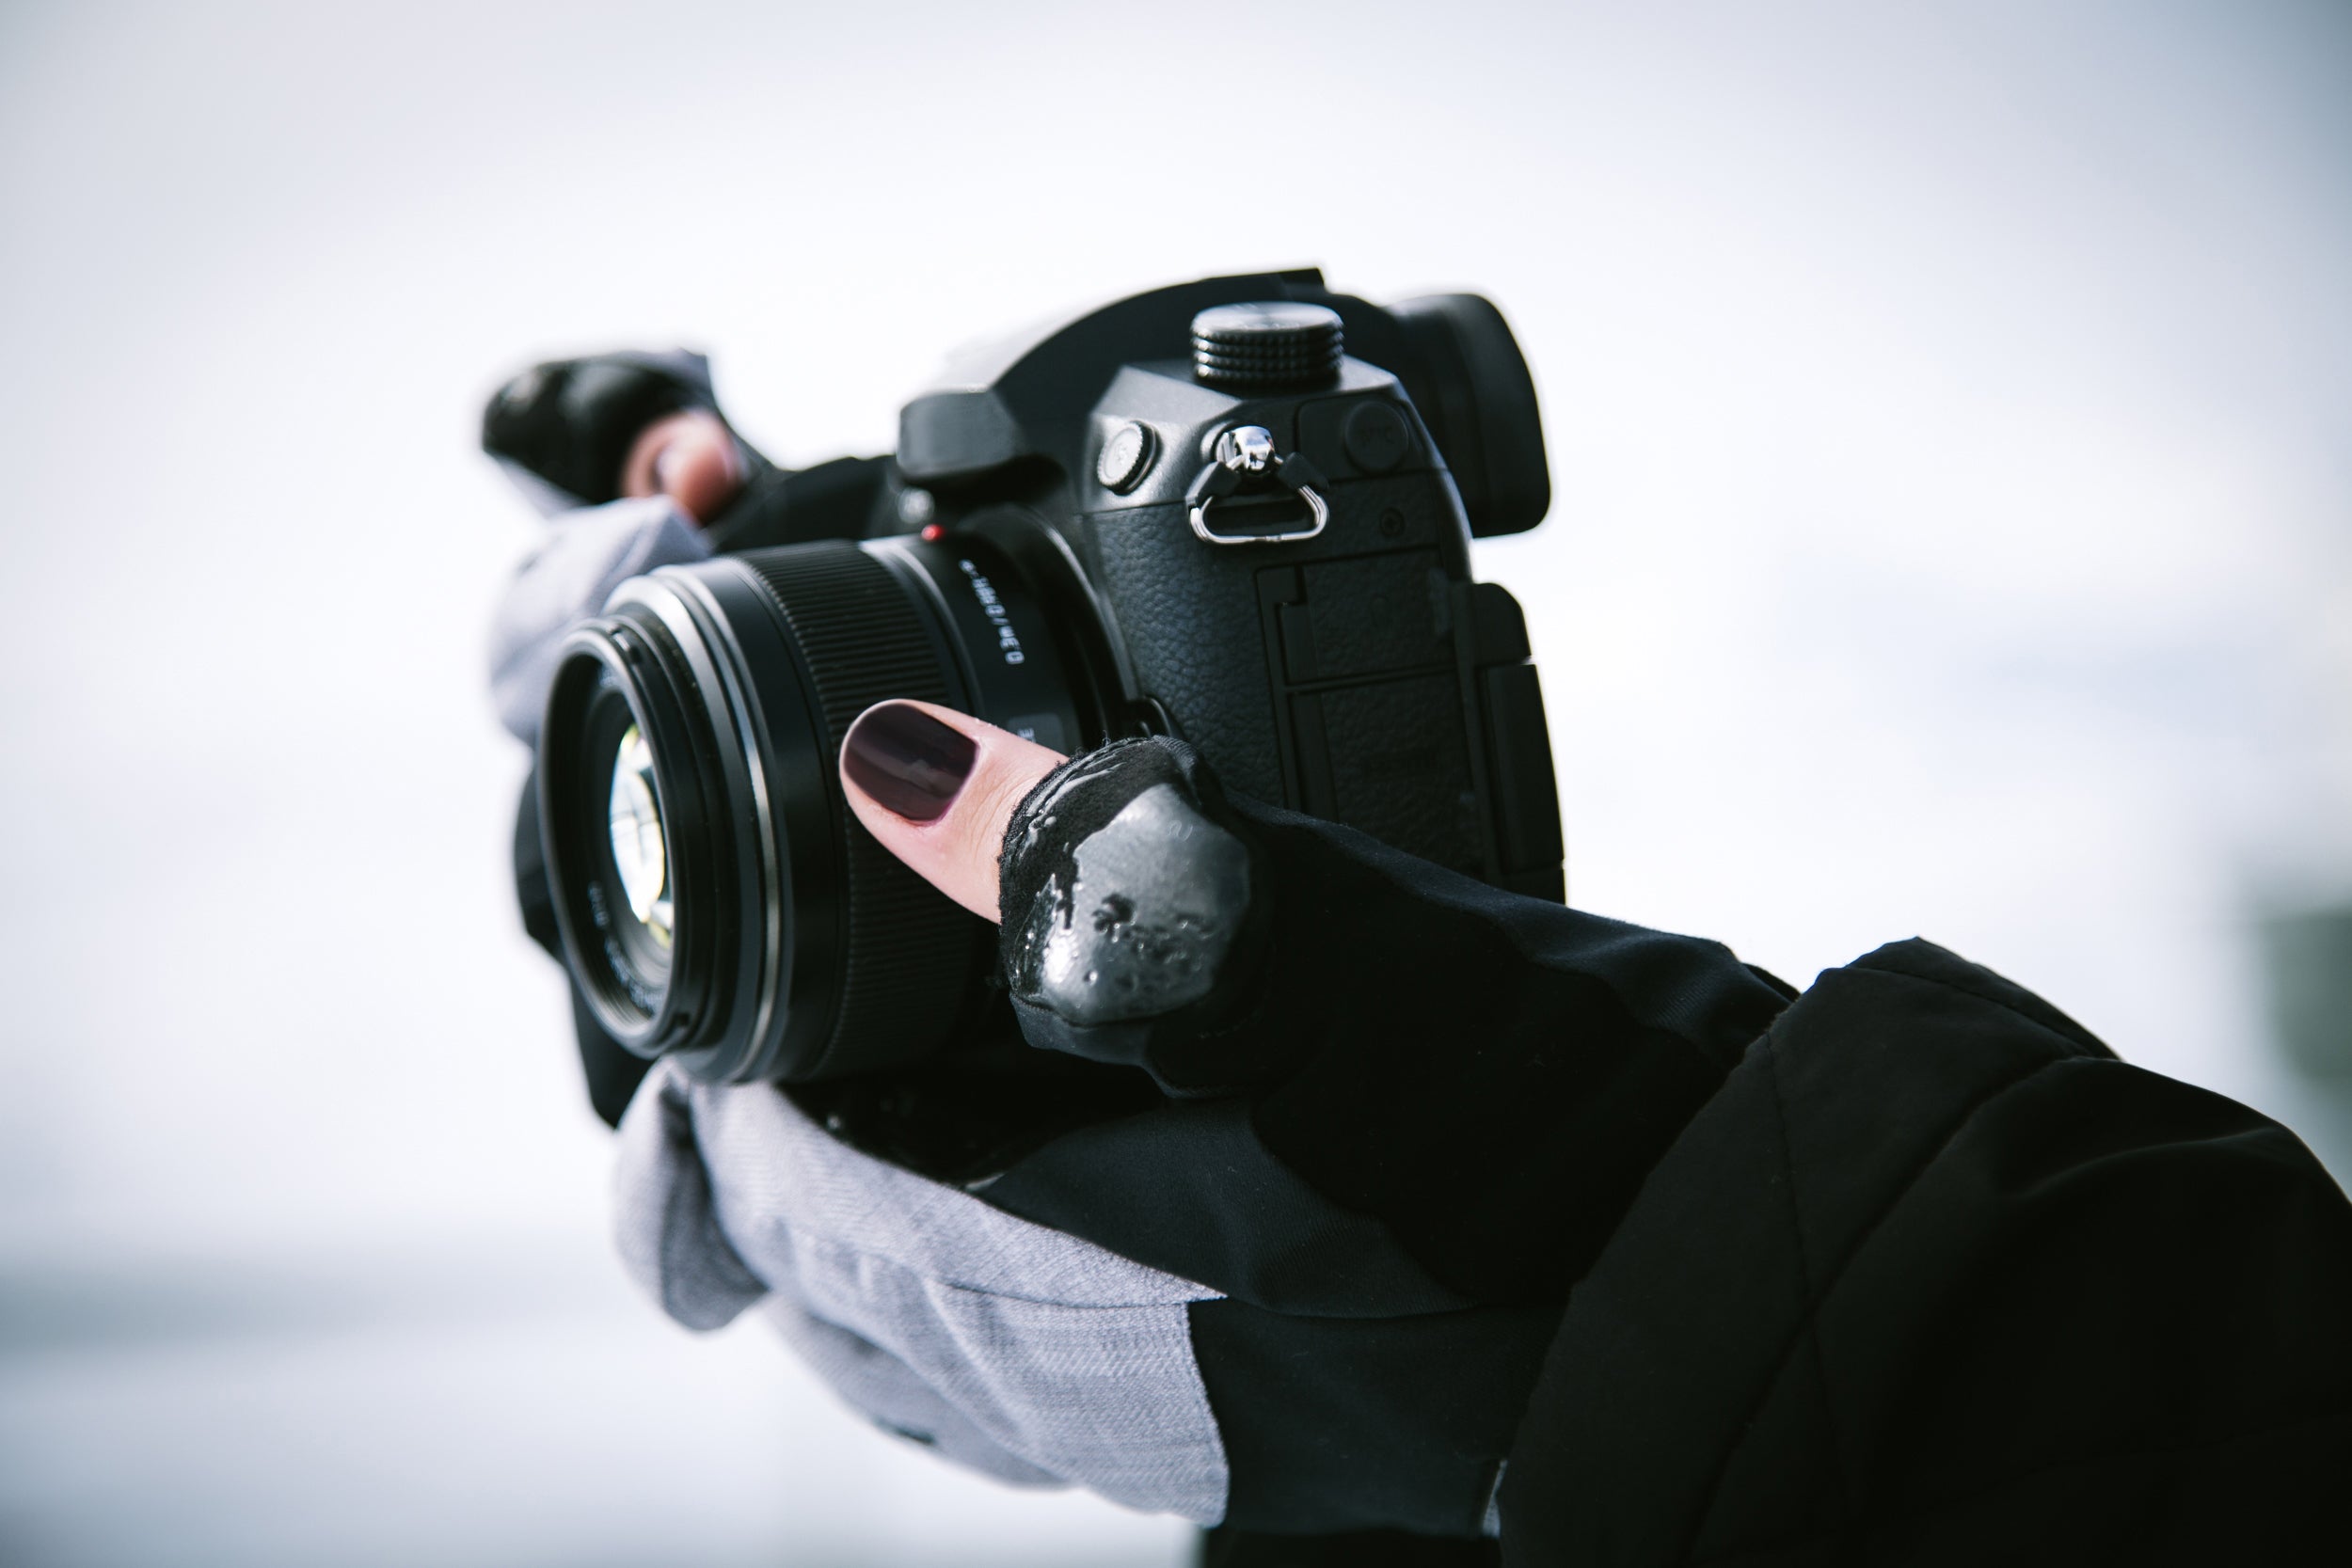
Photo by Nicki Antognini
How does it affect the light?
The aperture setting is one factor that controls how much light gets into the camera. On a sunny day, (and for this purpose you can´t adjust your shutter speed or ISO) use a smaller aperture (such as f/11 - f/22) to let in less light, therefore not overexposing your photo. In less light, you’ll need a wide aperture to let in more light so your photo is bright enough (such as f/1.8-f/4).
For many winter photographers, the daylight scenes are often bright and overexposed due to the bright and reflective qualities of the snow. Having all of this light means you’ll likely need to have a small aperture to control the amount of light let into the camera.
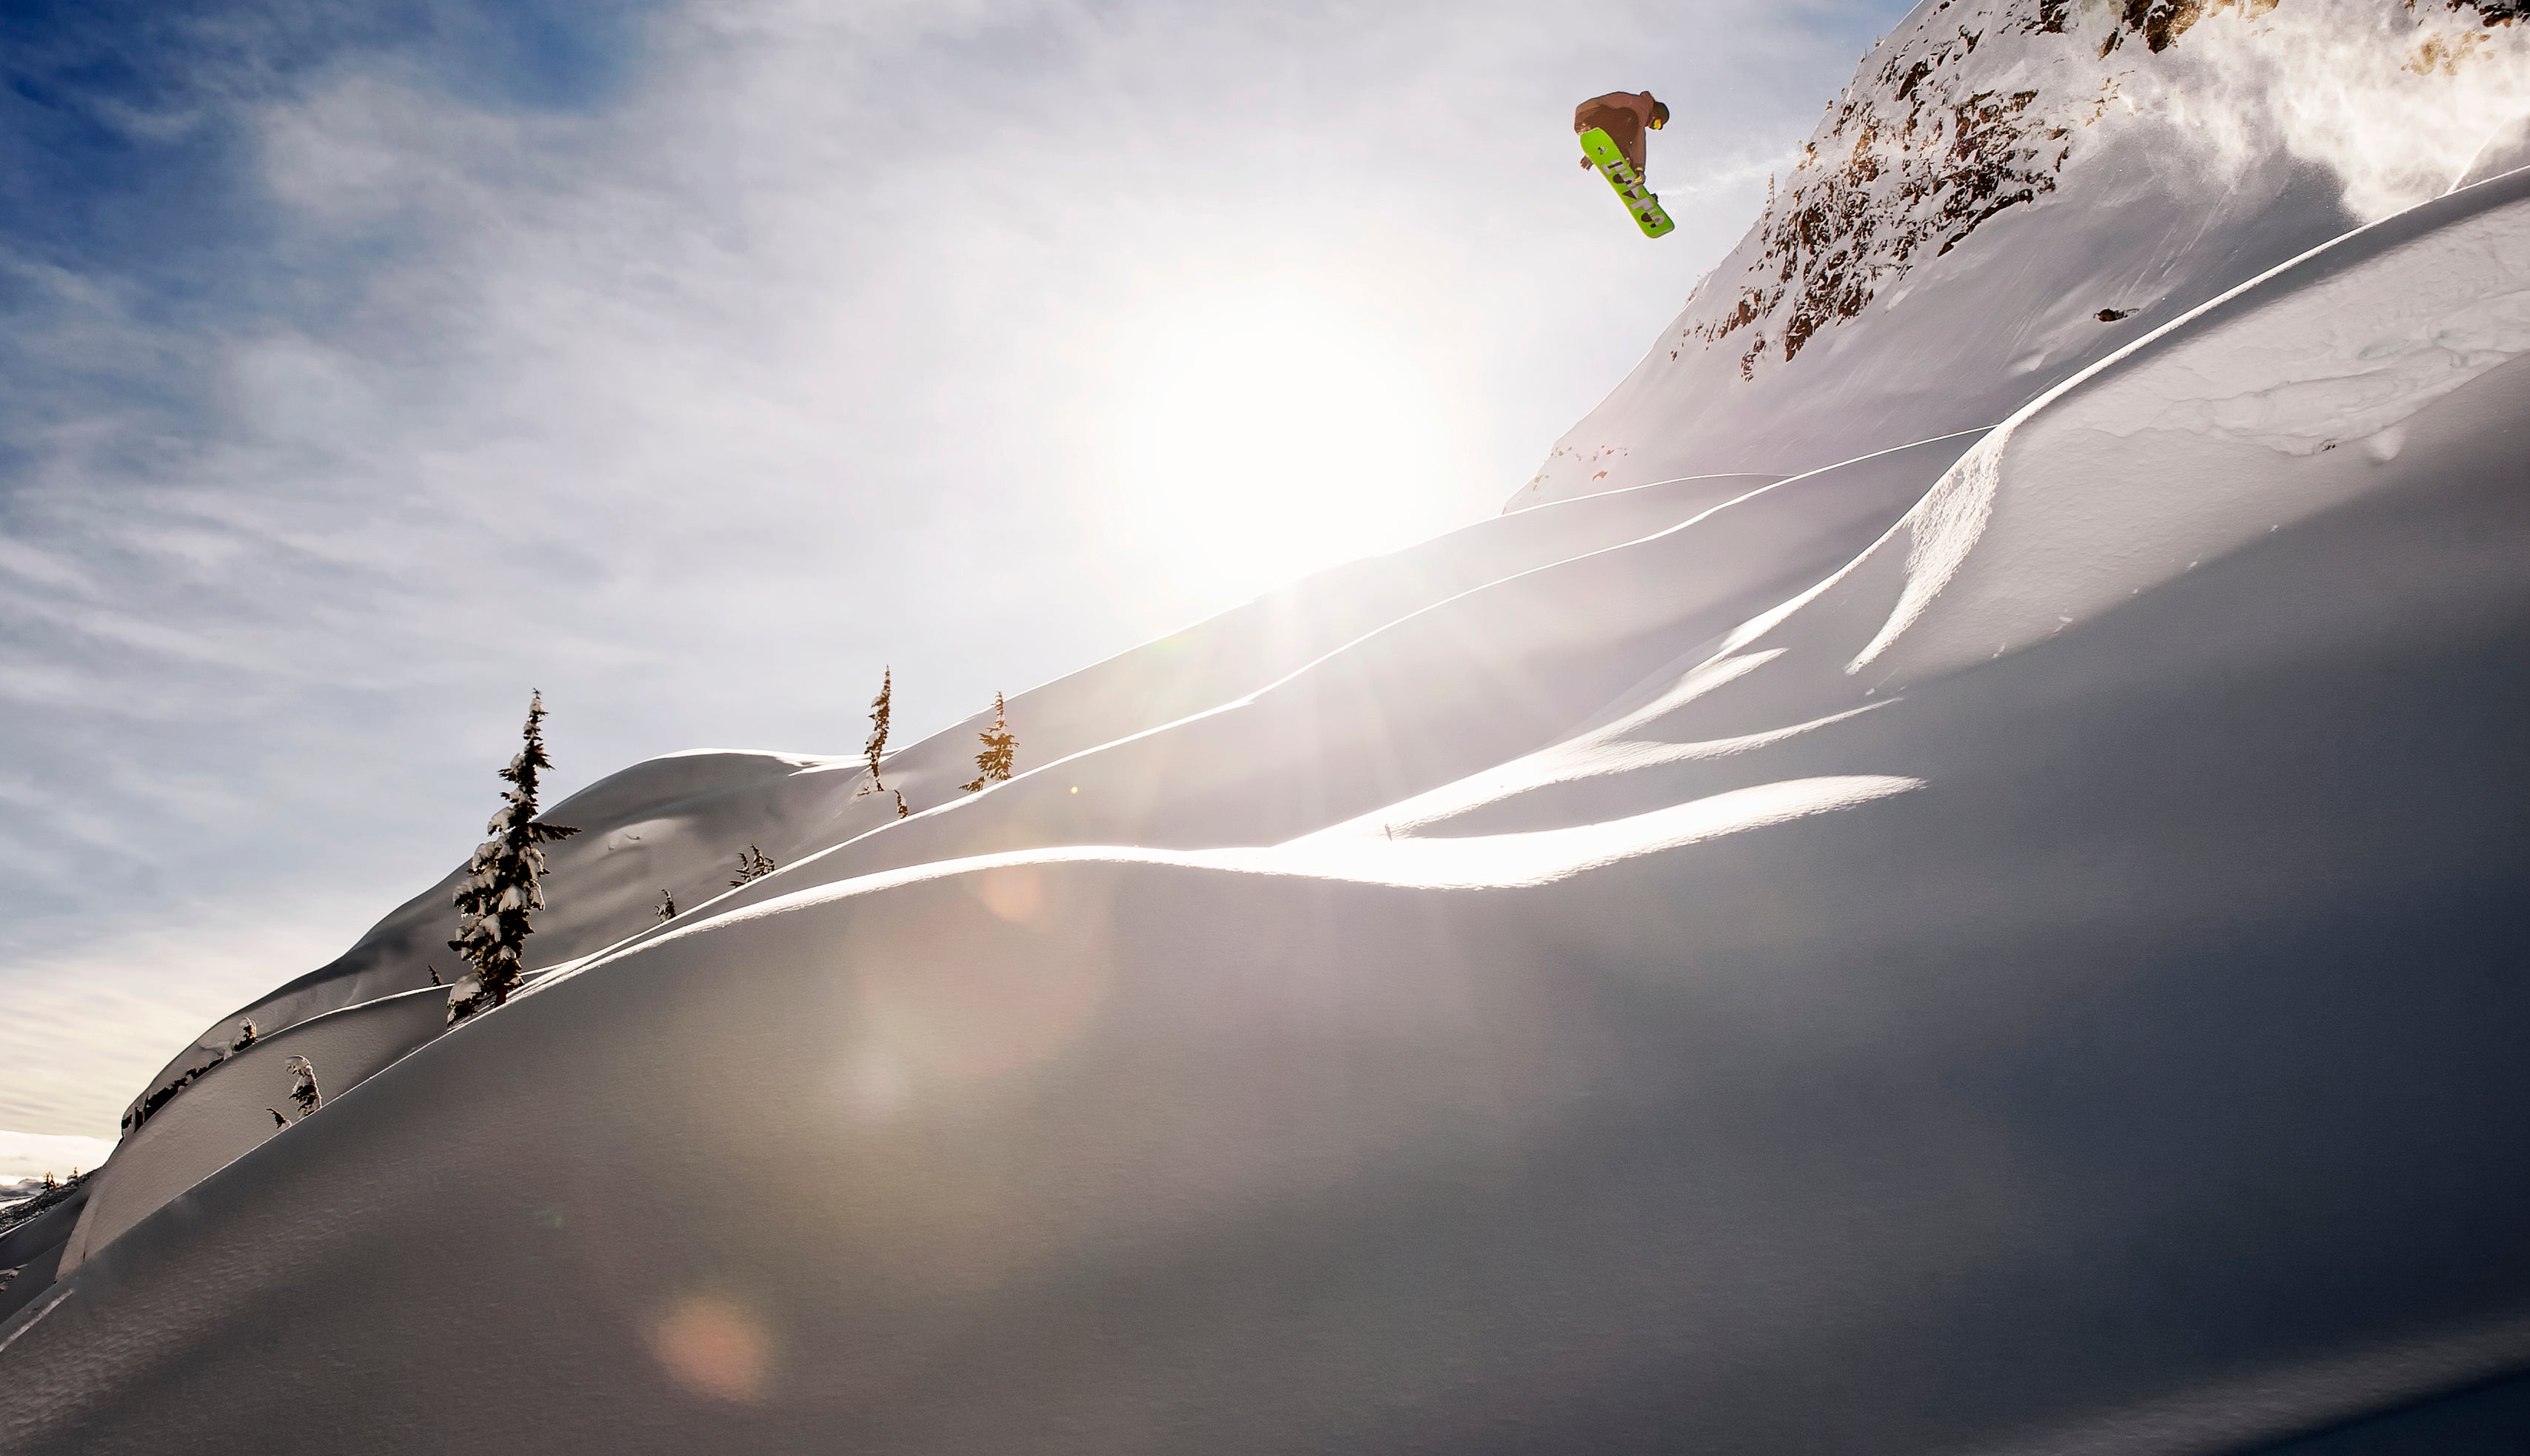
A small aperture is often required for sunny days when the light is strong. This aperture setting also ensures everything in the photo will be in focus.
Night photography, which is popular in winter when the skies are clear and crisp, require a small aperture, allowing as much light as possible into the camera. You can read more about shooting at night here.
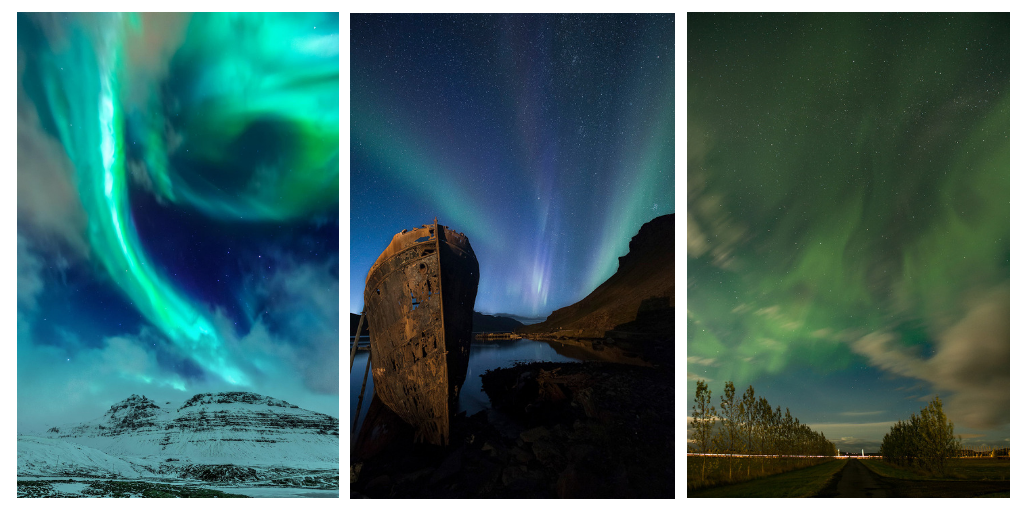
Low light scenes like these ones may require a wide aperture. Photo credit: Lance Keimig and Simon Markhoff
How does it work with ISO and Shutter Speed?
Aperture works with ISO and Shutter Speed to create an exposure. They are the three pillars of photography and if you can understand how all three of them work in conjunction, you’ll be well on your way to mastering manual shooting.
When you change your aperture, you may also need to adjust your ISO and/or Shutter Speed. For example, if you want to open up the aperture (say f/2 for instance), you’ll be letting in a lot of light into the camera. To counterbalance this, you may need to increase the shutter speed (which determines how long light is let into the camera) which will bring the brightness down. Or alternatively, you can reduce your ISO which is the way to gauge the light sensitivity of the image sensor.
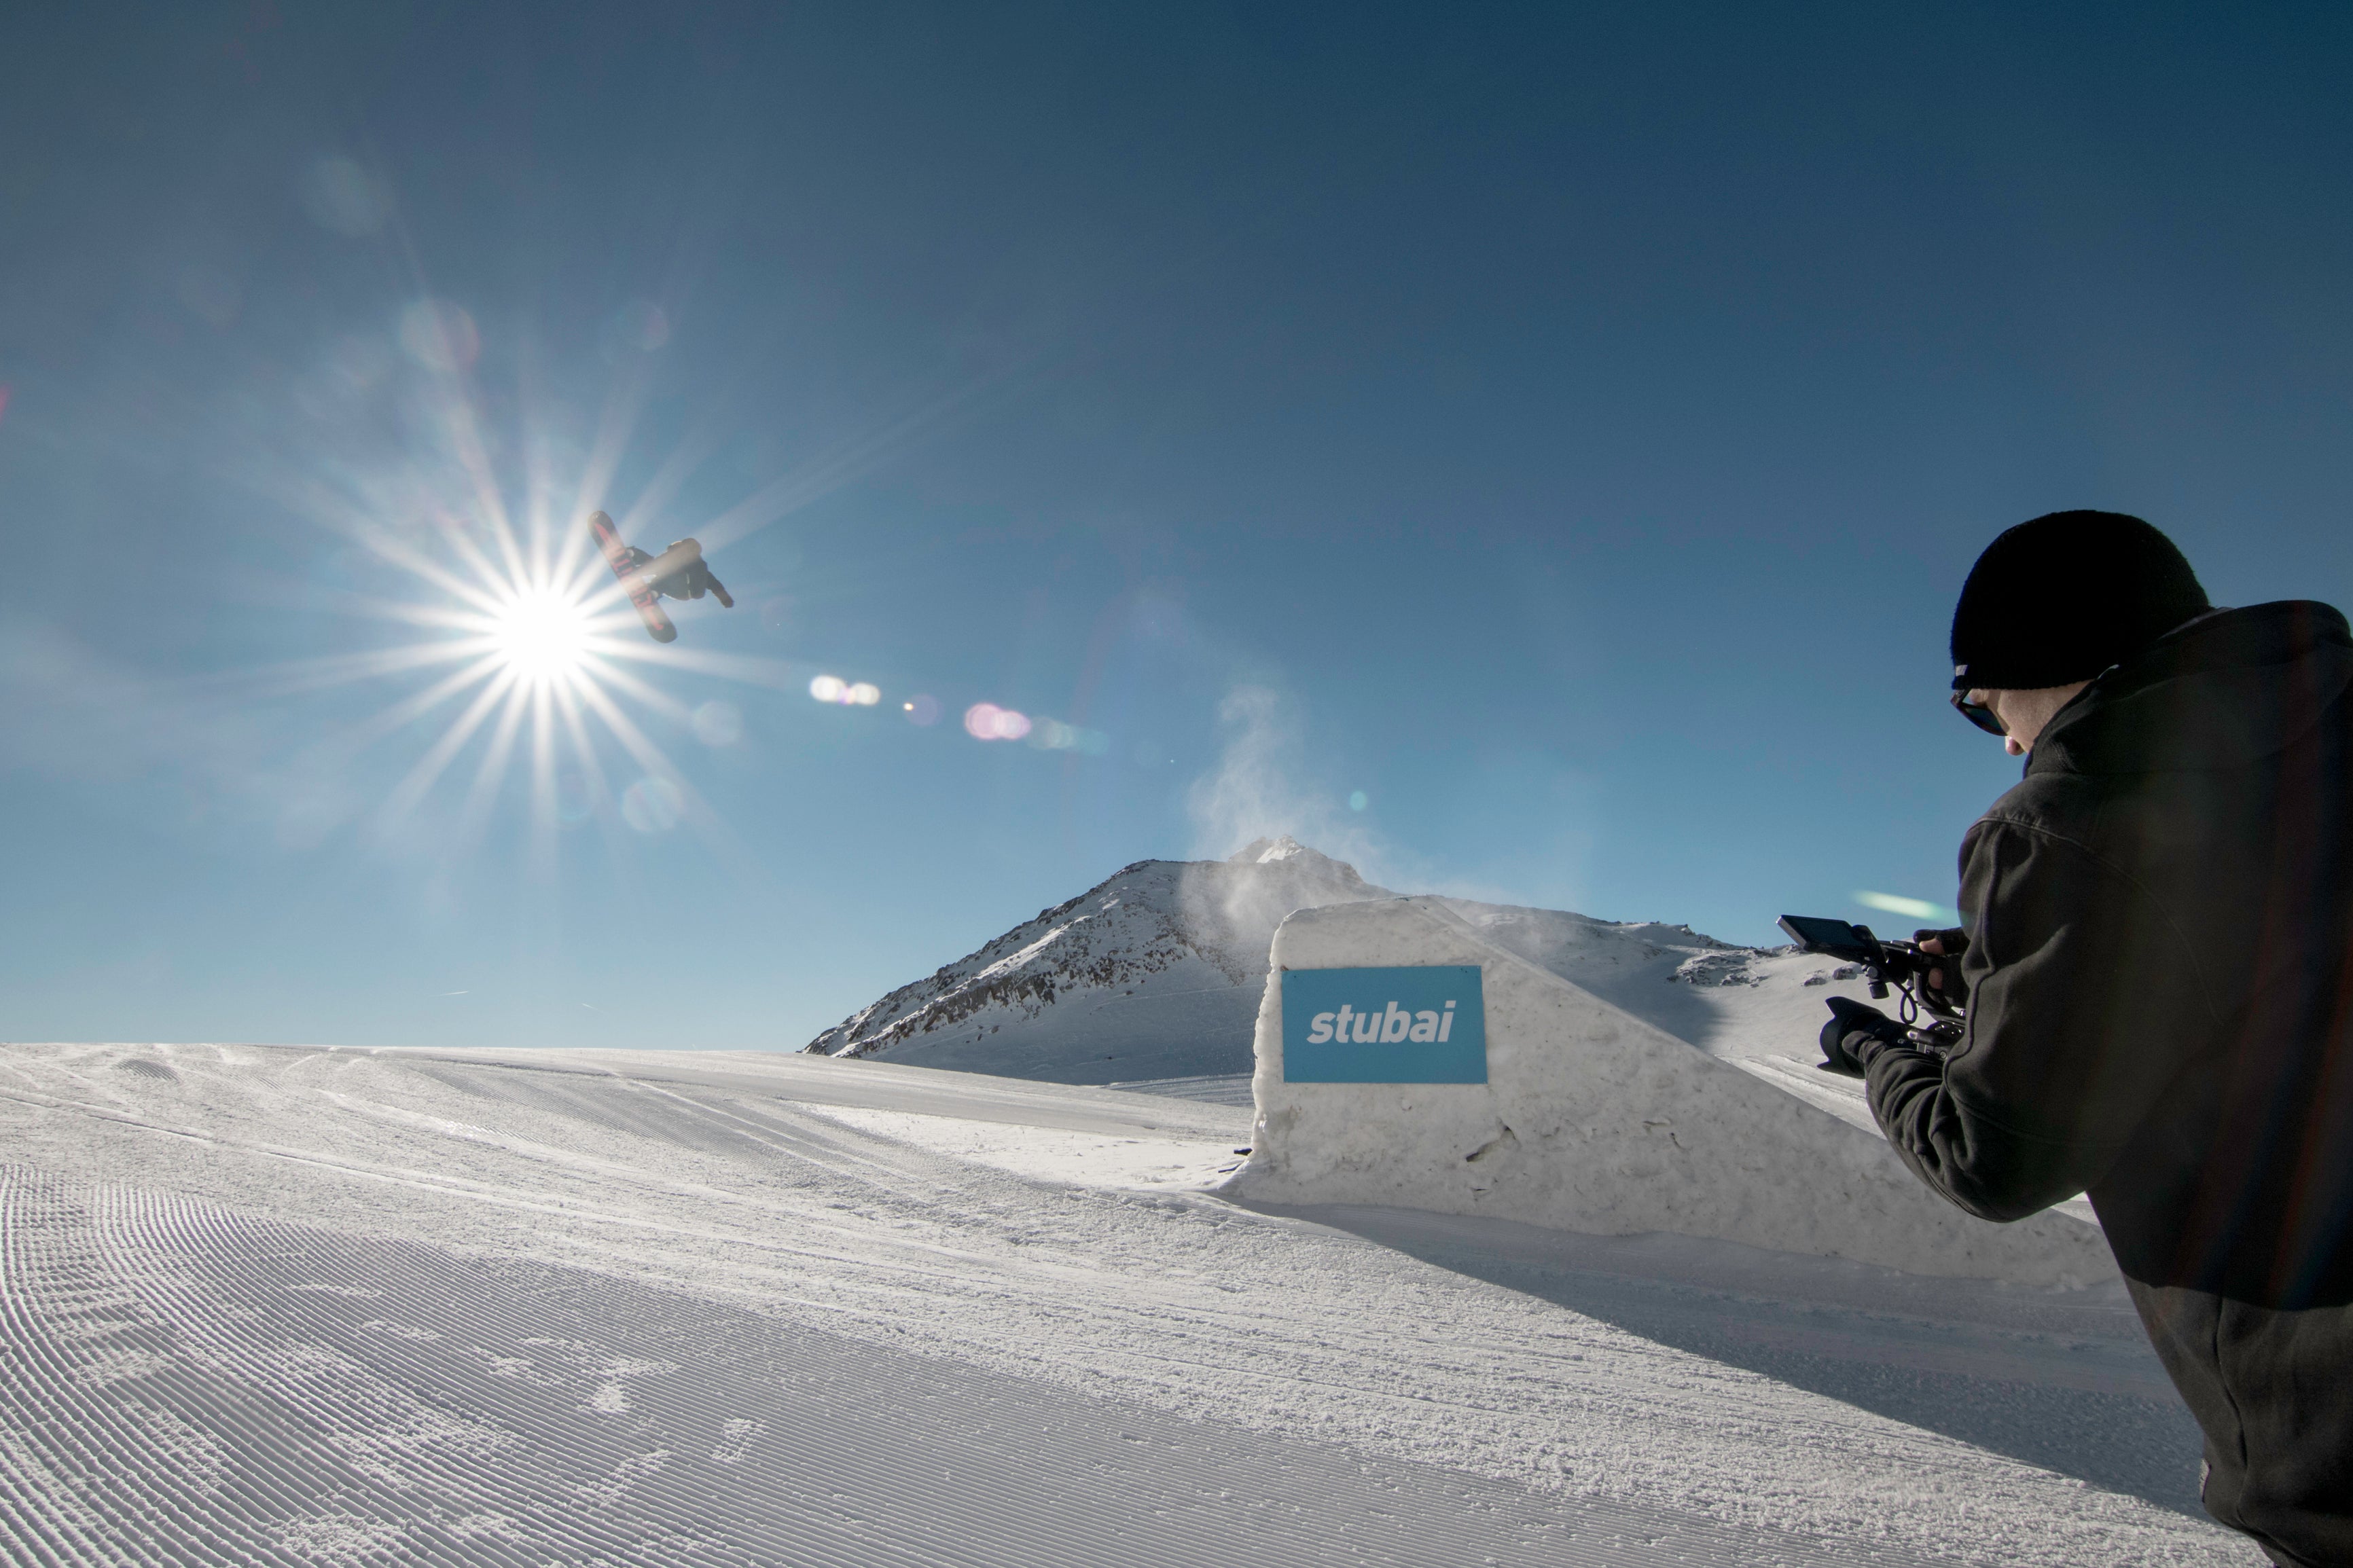
A faster shutter speed may be needed when the aperture size is reduced.
Getting Started:
A good way to get a feel for Aperture when you’re just getting started is to shoot in Aperture Priority. This is a mode on your camera that allows you to select the aperture and shutter speed is automatically controlled by the camera. This means you only have to focus on the aperture and is a great way to see how the Aperture and Shutter Speed work harmoniously.
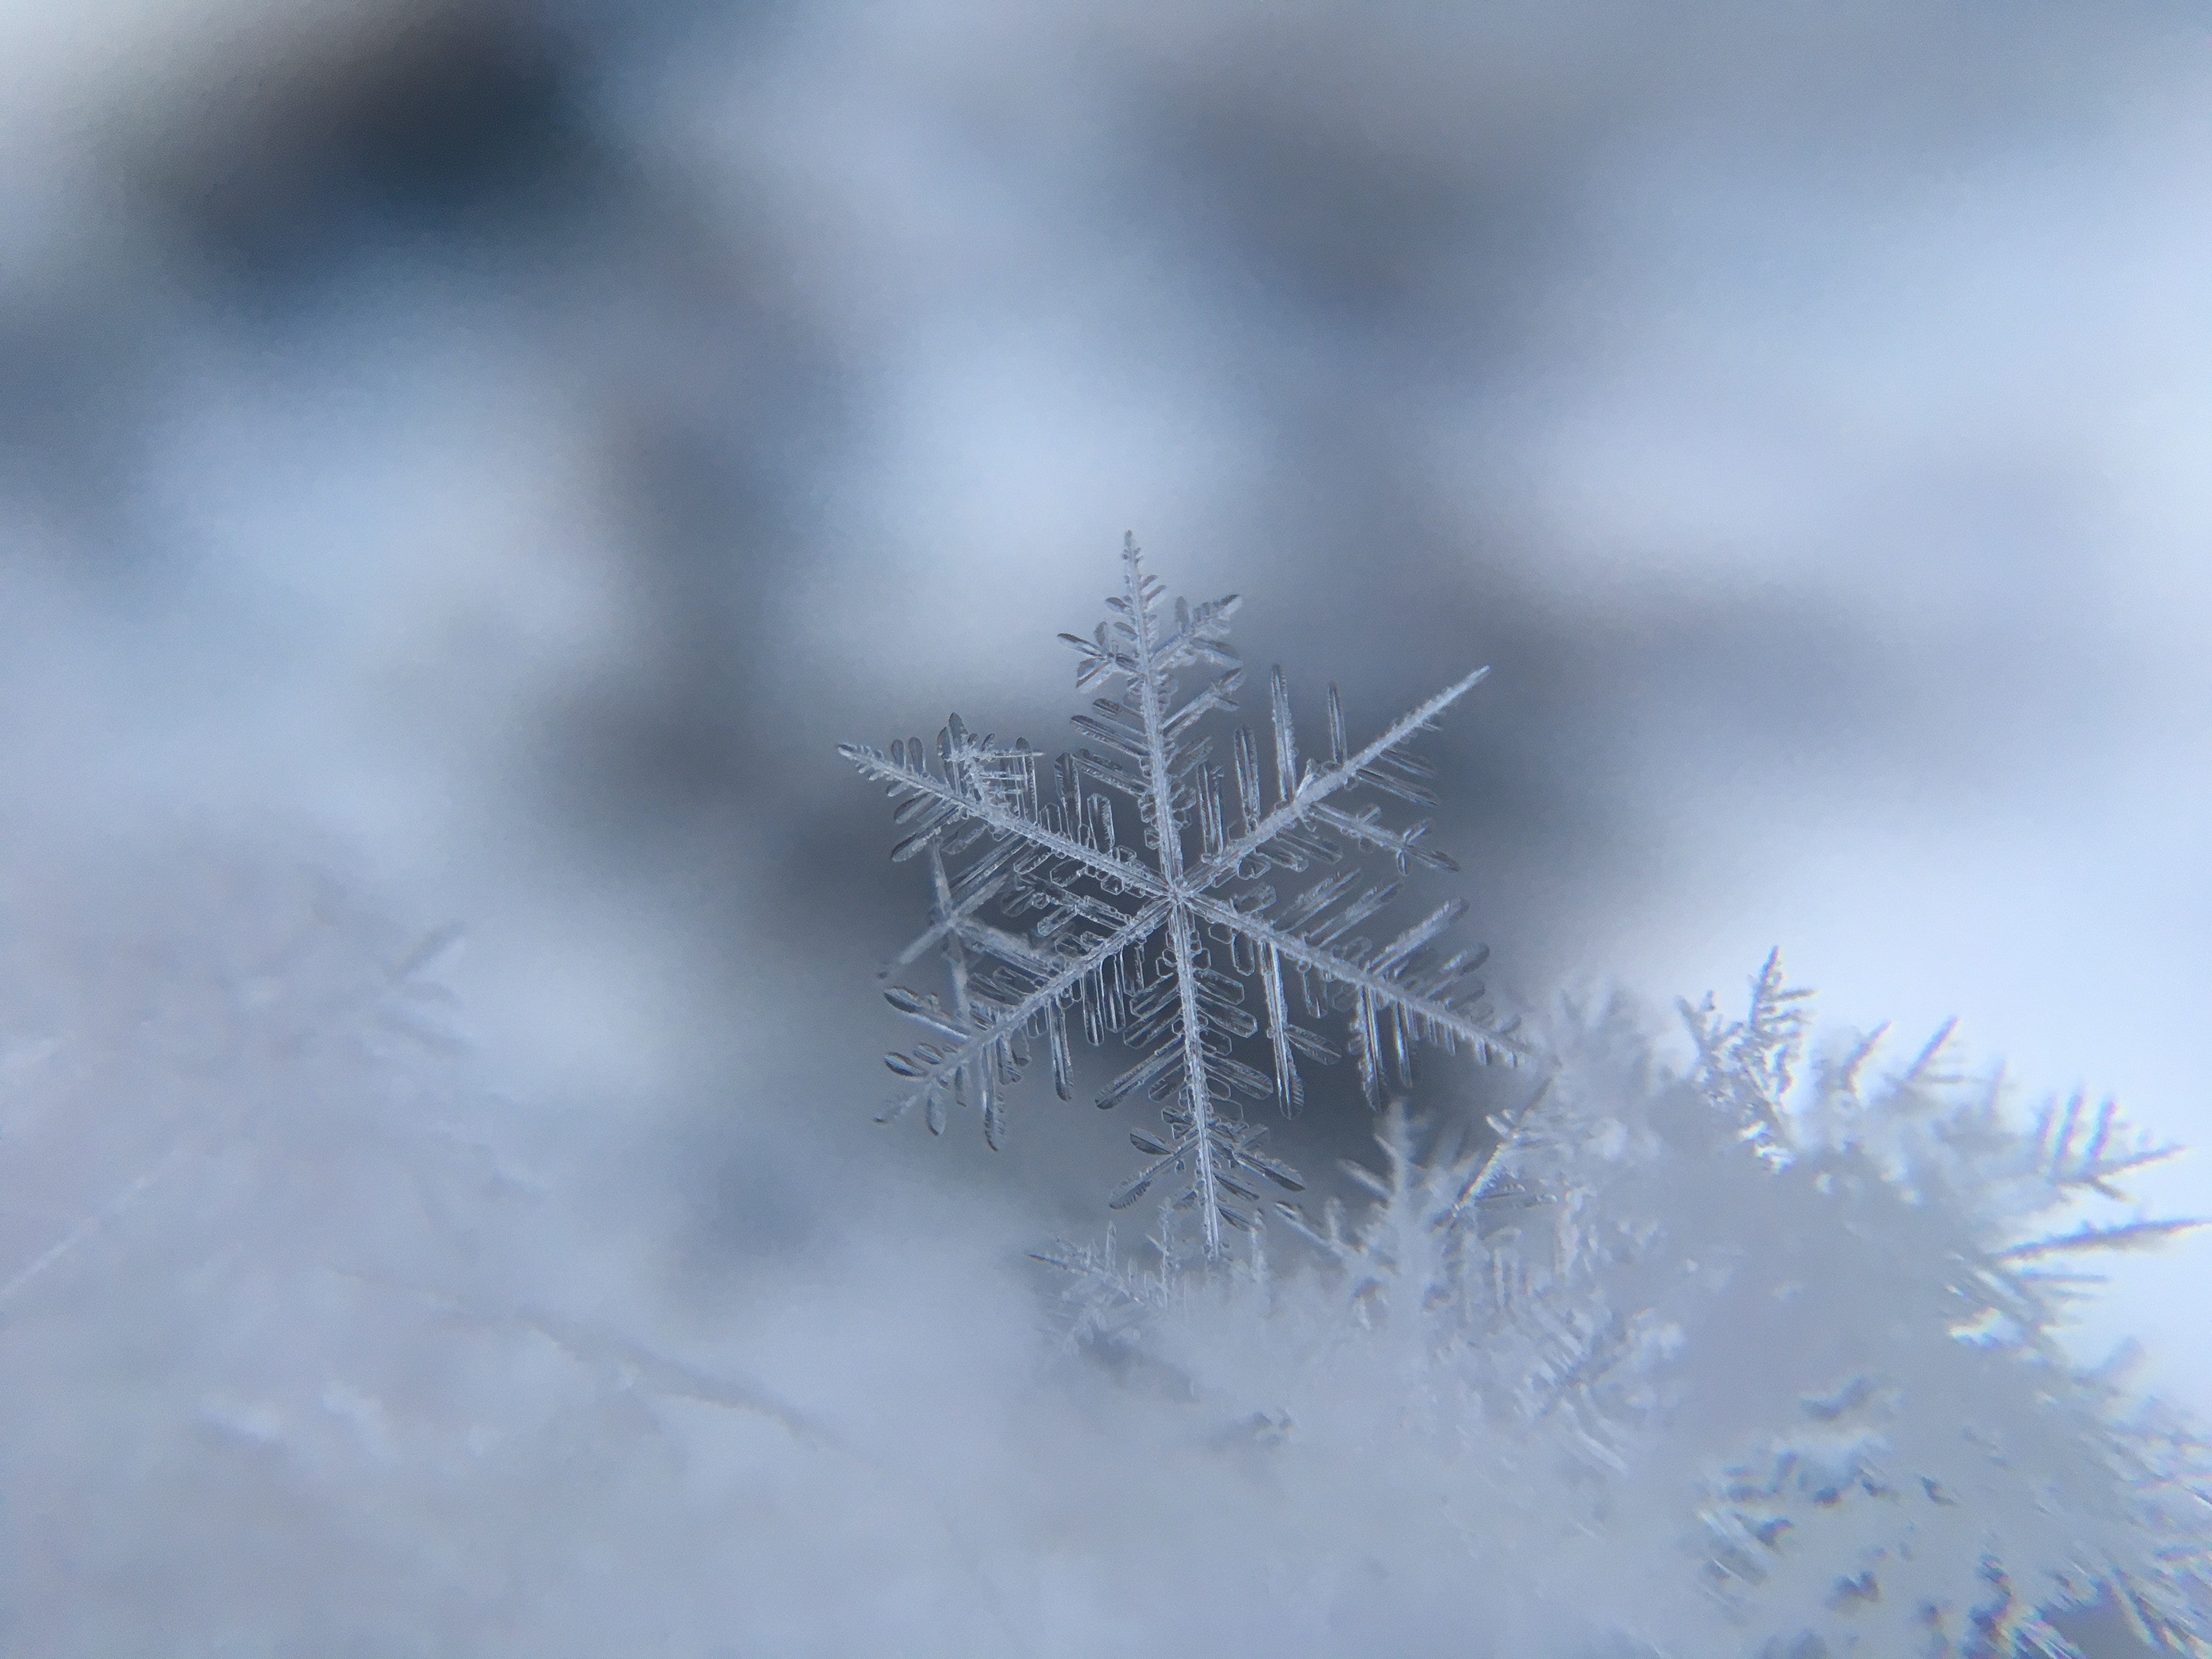
A wide aperture will allow you to capture sharp details on a small subject leaving the rest of the photo to be blurry. Photo credit: Damien McCoig.
Quicks settings for using Aperture.
First and foremost think of aperture as your creative setting. Do you want the whole scene in focus or just a part of it?
Secondly, use your aperture for light control.
As a rule of thumb, we have outlined some settings below.
- Winter landscapes aperture setting = F9 or higher (all of the image is in focus)
- Winter Sports photography aperture setting = around F/4 - F/7 (allows more light and faster shutter speeds)
- Northern lights aperture setting = F/1.8 - F/4 (Allows more light and brighter Aurora)
- Long exposures aperture setting = F/16 - F/22 (lets in less light so you can have the shutter open longer)
Over the coming weeks, we’ll cover the basics of ISO and Shutter Speed so you’ll be a manual shooting pro by the time winter rolls around!
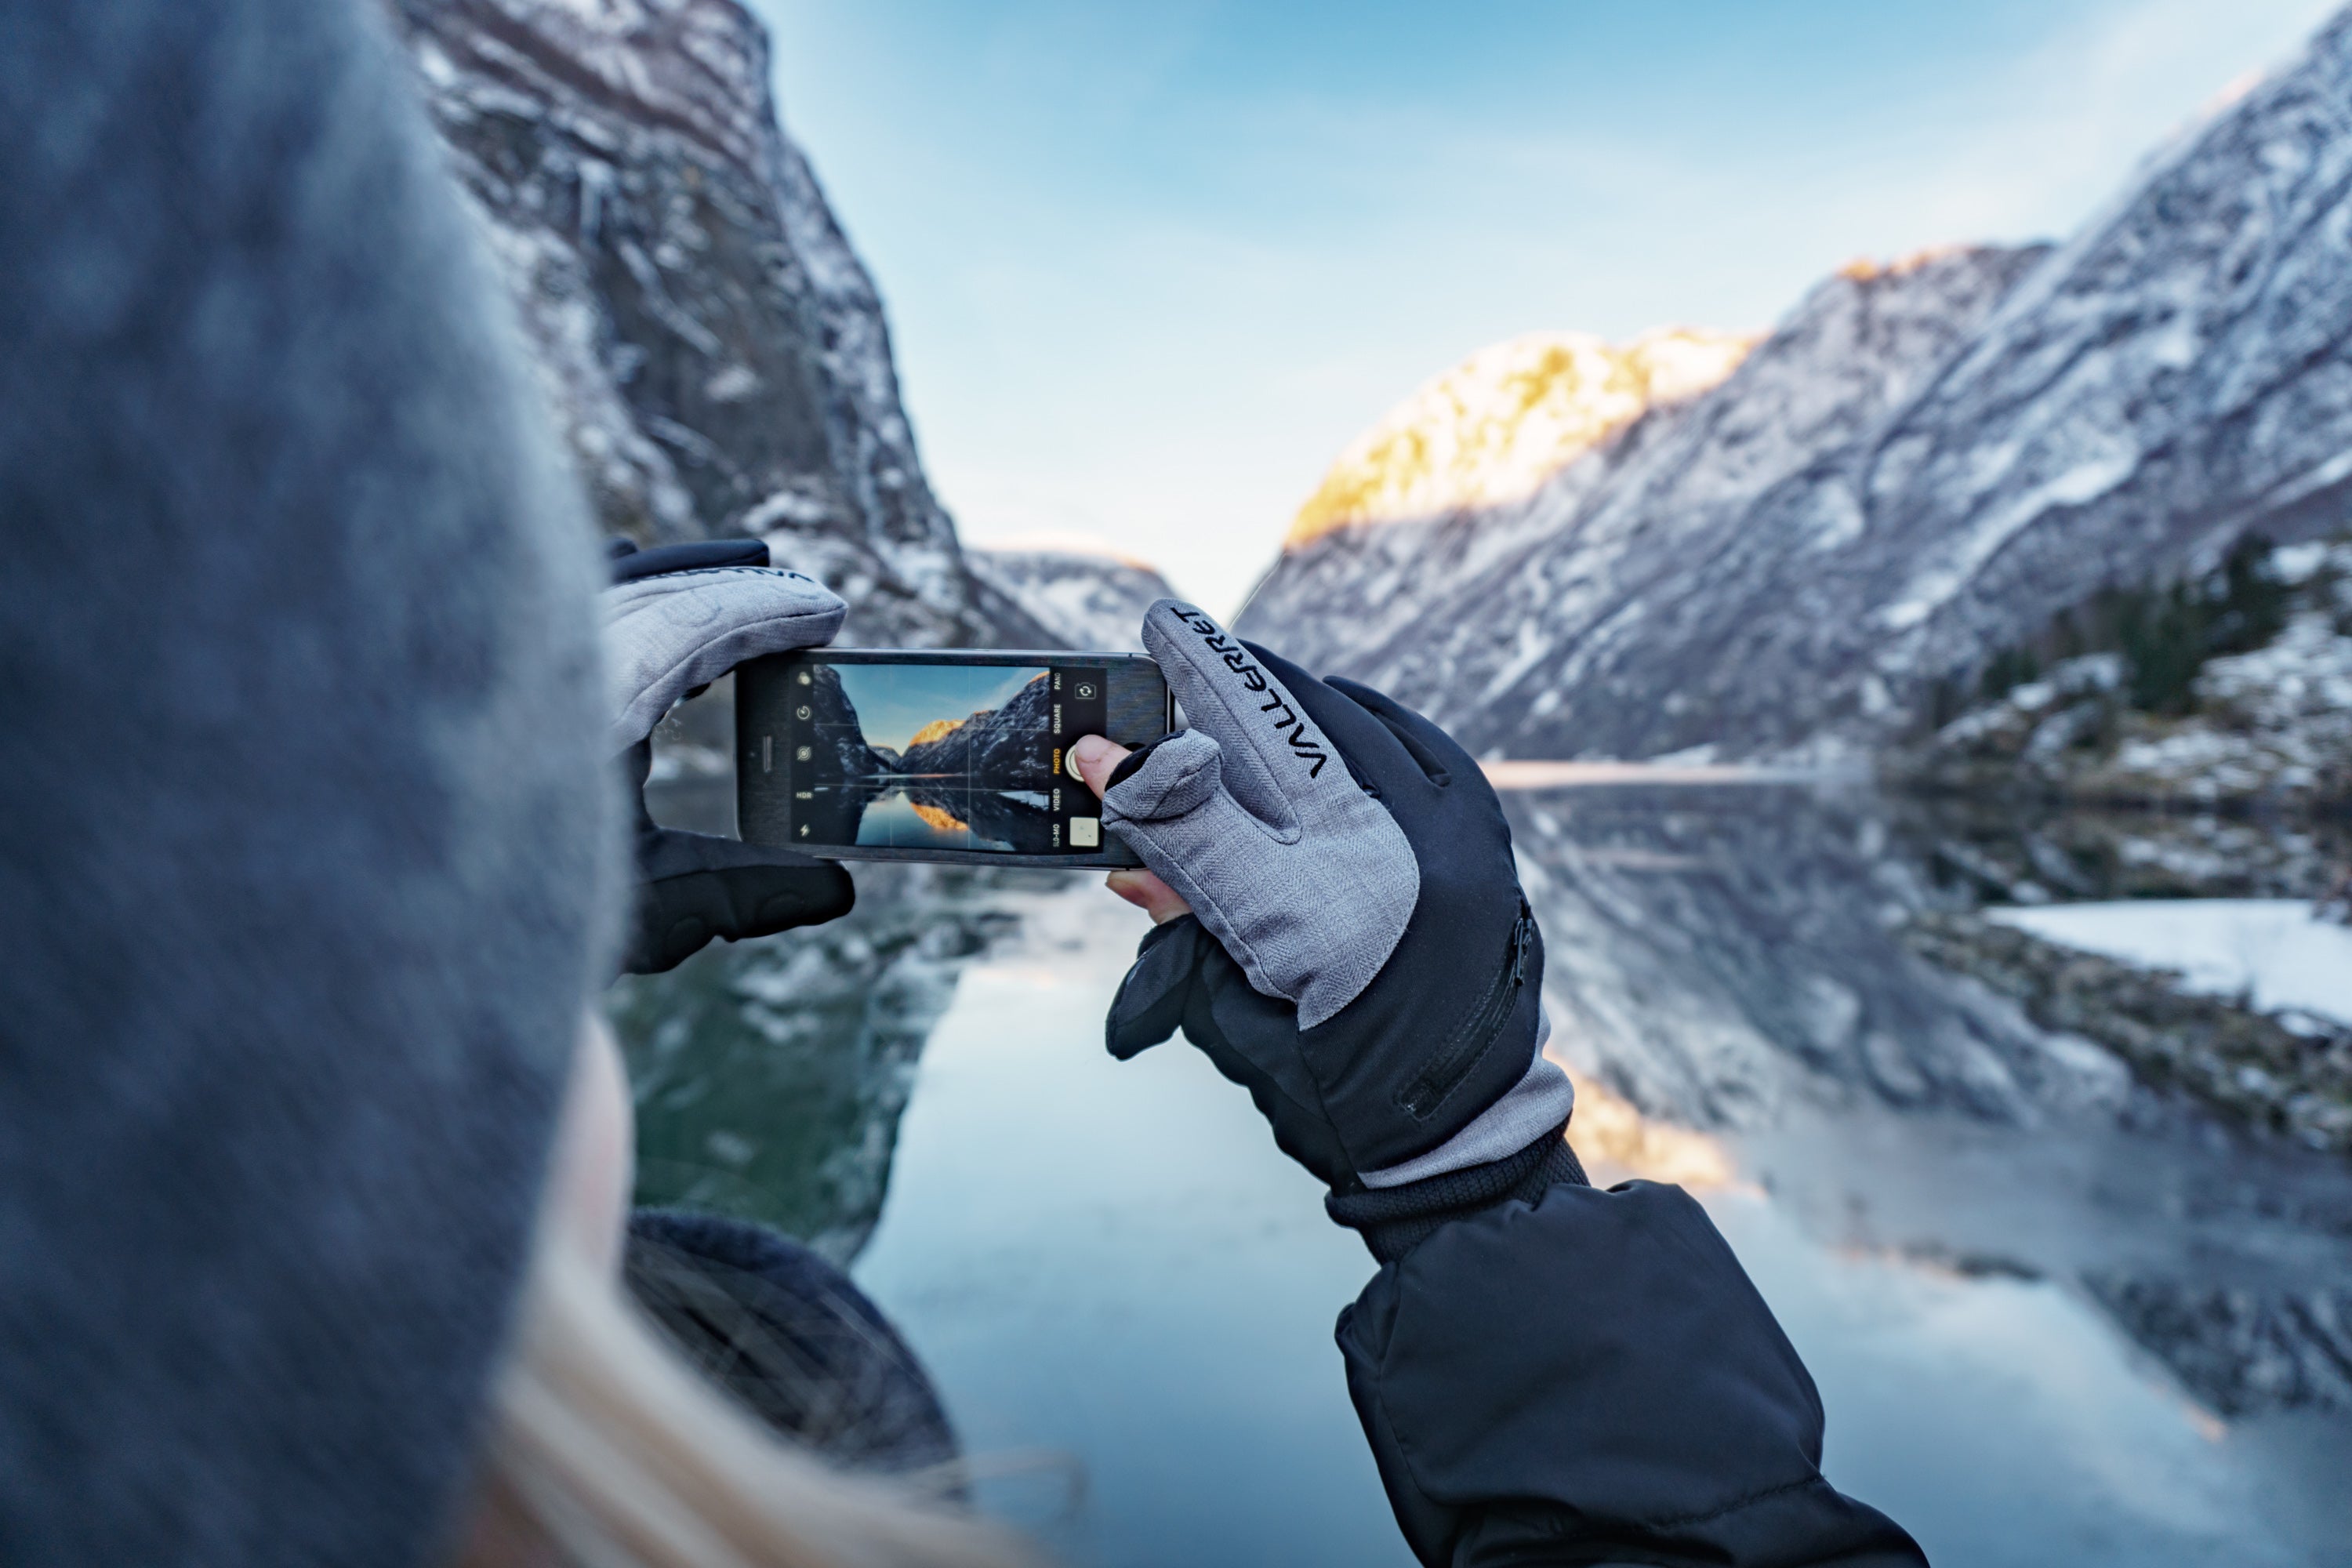
The wide aperture setting in this photo makes the gloves and phone in focus, leaving the person and the background blurry.
If you liked this post, you’ll love these too!
- Guide to Shooting Manual for Winter Photography
- Winter Photography Basics: Understanding ISO
- Winter Photography Basics: Understanding Shutter Speed


4 comments
A useful summary delivered in a clear writing style, which is so helpful Thx
Awesome, Kristen! We’d love to see your shots. You can always share them with us on Instagram @vallerret. Happy shooting!
Great tips. I’ve been wanting to experiment with winter photography. Your knowledge of aperture is impressive – thank you for sharing!
great article . tks :) all tips help