Your Cart is Empty
1% of Every Sale Go To Environmental Non-profit

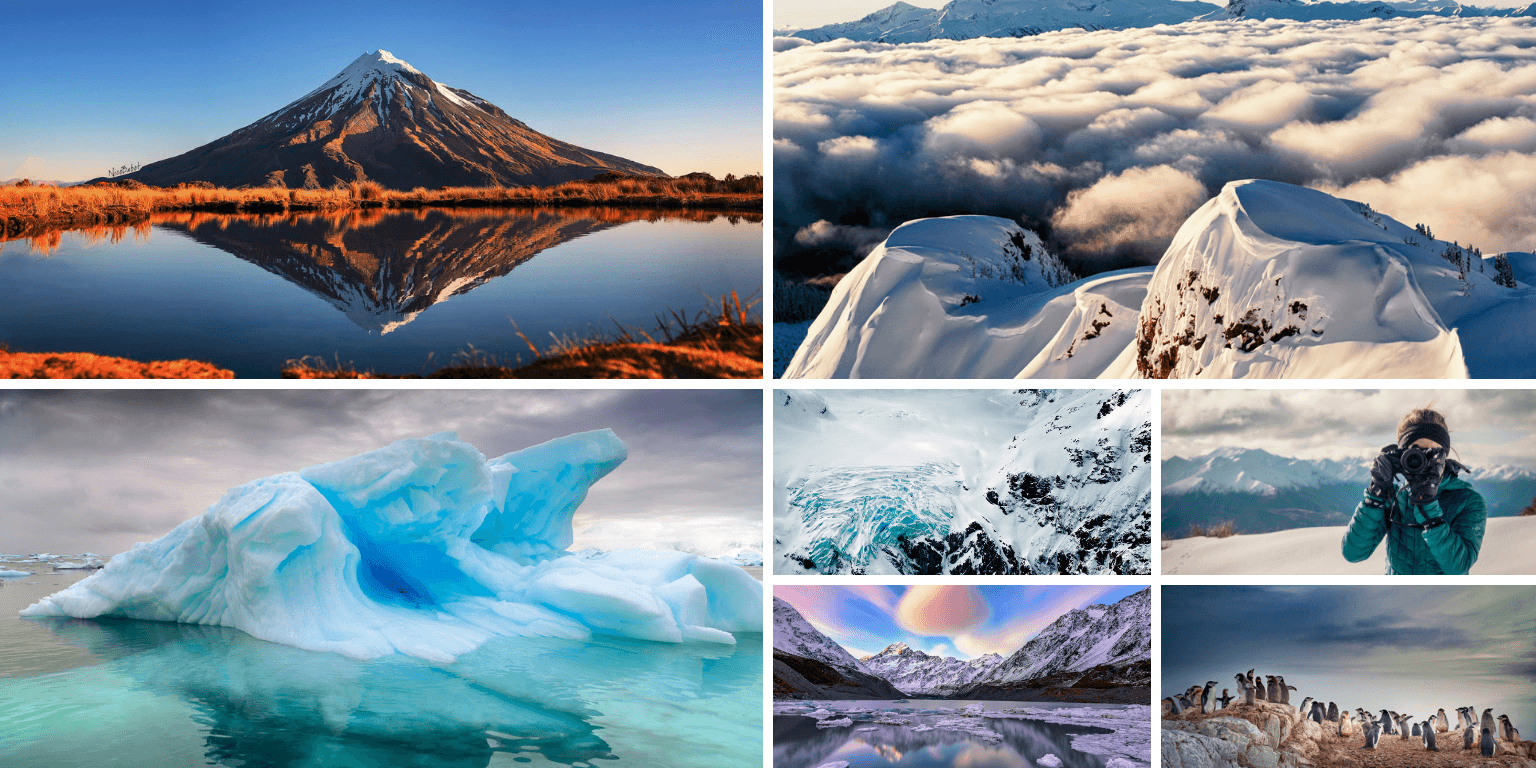
Cover photo by Sam Swartley
There’s something magical about photographing wild creatures. The combination of isolated landscapes and the unpredictability of the animal and their behaviour makes wildlife photography one of the hardest and most intriguing forms of photography. Photographing wildlife takes an immense amount of patience and it’s not uncommon to wait the whole day and still not get the perfect shot, but when the stars align and everything comes together, you’re bound to fall in love with wildlife photography.

Photo by Denis Palanque
As a beginner, it can be overwhelming to understand what equipment you need and how to get started. If you’re looking to break into the wildlife photography scene, here are our best tips for getting started!
Like any type of photographer, wildlife photographers are successful when they are well prepared. Take time to do your research well in advance to scope out the best areas for wildlife and take note of what hours the animals are most active. If, as a photographer, you haven’t learned to love odd hours already, this is a great time to start. Your best shots may come from the most inconvenient times.
Many animals are most active during the early hours of the morning and evening when the light is not so strong. You’ll need to allow plenty of time to get to your desired location before the activity starts so having a solid plan will be crucial. When planning, consider the light in that area as well. Is your chosen spot hidden behind a hill causing it to receive light later in the day? Are you headed into a dark forest? Considering the light will help you better decide which gear you should pack.
 Photo by Sam Swartley
A big misconception for those getting into wildlife photography is that you’re going to need extremely technical and advanced gear which, while it can be useful, is not necessarily true. Sure, in an ideal world you’d have full access to the biggest, meanest tele zoom lens on the market but if you’re just getting started, you’re likely going to need to start with what you’ve got.
More importantly than having the best gear is understanding the gear you have and knowing its limitations. If you don’t have a tele zoom lens, you can expect that your photos won’t be like the ones you see in Nat Geo, but that’s okay.
When choosing lenses, you’ll likely want to have the best zoom lens in your kit. Wildlife often scare easily so you’ll likely need to keep a big distance between you and your subject. You’ll also want to bring along a few spare batteries, keeping the spares in a pocket close to your skin to keep warm. We always throw in a few lens cloths and extra SD cards as well, just to be safe.
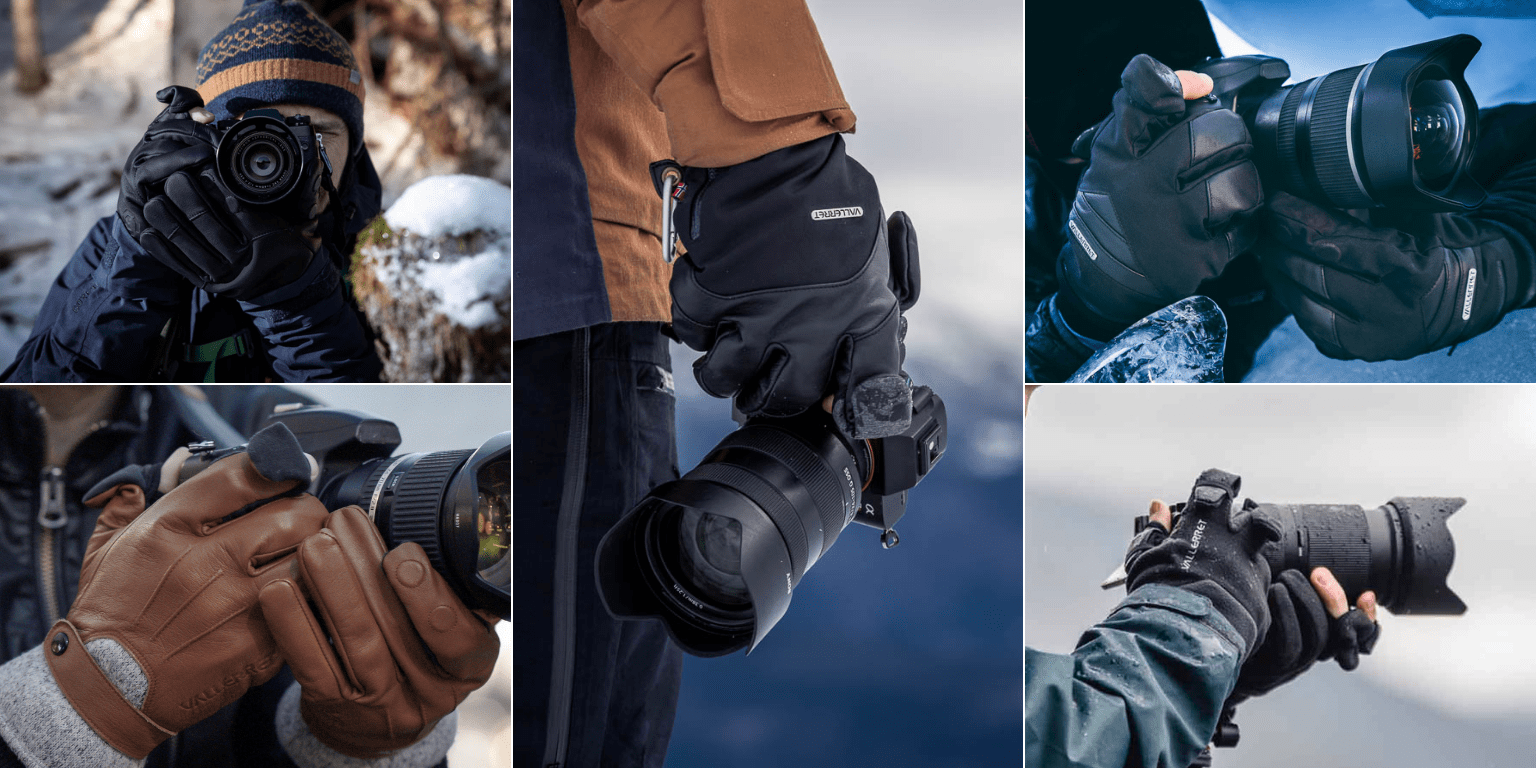
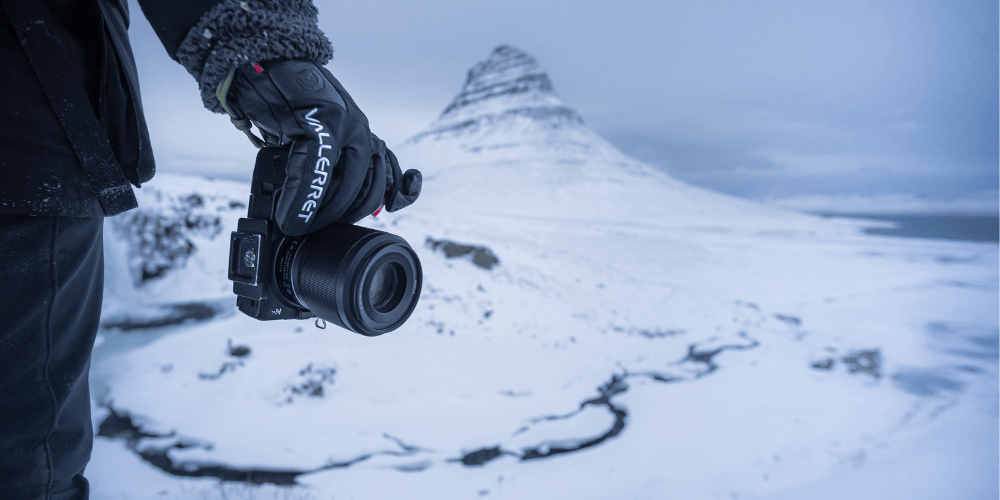
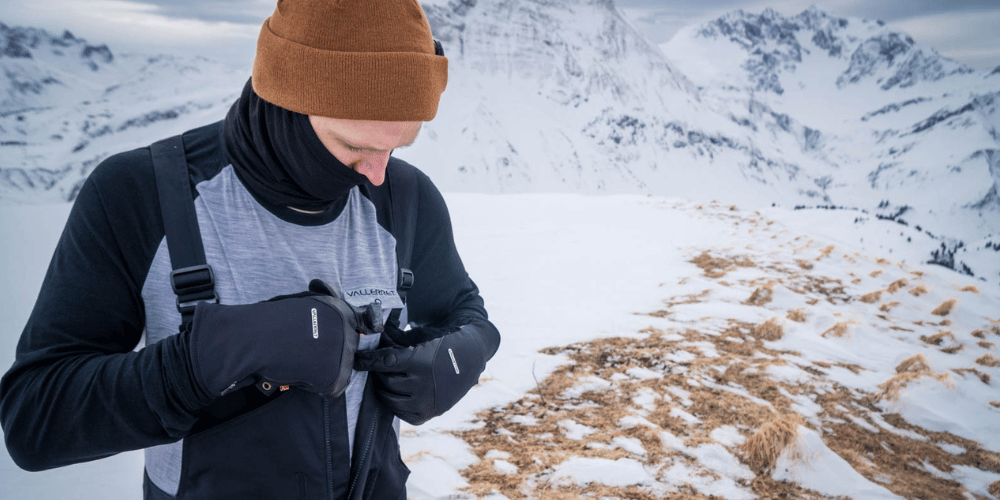
For winter shooting, you’ll need to be well prepared with lots of layers. You’ll likely be standing or sitting still for long periods of time so staying warm without moving a lot is going to determine how enjoyable and successful your shoot is. Start with the layers close to your skin: merino or insulating synthetic fabrics are best. No cotton!
For mid-layers, we like merino or fleece. I tend to have a packable puffy jacket (like these from RAB) and a rain shell as well. For the bottoms, warm long johns with snow pants on top usually work for me. Waterproof boots, insulating beanie and a neck gaiter are also essentials. Of course, you’ll need to keep your hands toasty warm so you can access your dials and operate your camera. The type of glove that will work best for you depends on what weather conditions you’re shooting in. Check out this post for our best recommendations.
 Photo by Denis Palanque
Your settings are going to largely depend on the light available in the scene and what you’re trying to capture. For early morning or dusk shots, you’ll need to cope with low amounts of light while still managing to capture a sharp image. If you’re capturing animals on the move, you’ll want to nail your shutter speed to get a crisp image.

Photo by Denis Palanque
Many wildlife photographers shoot in aperture priority which will allow you to quickly adjust your depth of field, letting your camera decide the appropriate settings for ISO and Shutter Speed. When choosing your aperture, opt for a slightly shallow depth of field. You’ll want to create separation between your subject and the background but you’ll also want the entire animal in focus. A very narrow aperture, for example, could cause the front legs to be in focus but the back legs to be blurry, or the beak of a bird to be sharp but the body to be out of focus. Start with an aperture of f/6.3 to f/8 and adjust from there.

Photo by Sam Swartley
If you’re shooting animals who are moving, you might want to switch to shutter speed priority. This allows you to adjust the shutter speed to a point that freezes the motion of the animal while your camera adjusts the rest of the settings based on the available light. Ideally, you would shoot with a shutter speed of 1 over the focal length of the lens you’re using. If you’re shooting with a 200mm lens, you should aim to shoot with a shutter speed of 1/200th of a second. To give you an idea, 1/1000 of a second will sharply freeze most running land animals and 1/2000 of a second will freeze most birds in flight.
If the lighting is minimal, you’ll need to shoot in full manual mode. Start by adjusting your ISO but remember the more you bump up the ISO, the grainier your photo will be. Your maximum ISO that you’re comfortable shooting with will depend on your camera, lens and personal preference. Once you’ve maxed out your ISO, you can adjust your other settings.
You’ll want to adjust the shutter speed to a point where it lets in enough light without compromising the sharpness of a photo. Unfortunately, the conditions don’t always allow for that so if you need to, you can bring the shutter speed down lower, just be aware of the potential motion blur you may get.
Getting the focus right in wildlife photography is imperative to getting a good shot. It’s likely the animal you’re photographing will be on the move which means you’re likely not going to have an excessive amount of time to dial in your focus.

Photo by Sam Swartley
Autofocus will work for most wildlife photography. Continuous focus (AI-Servo) will help you focus continuously while the shutter-release button is pressed halfway. This AF mode will keep your lens focused on the animal, even if the animal moves after you press the shutter button. If the animal you’re photographing is stationary, AF-S (One-shot AF) would be a good option.
When shooting moving wildlife, you should set your camera area mode to Dynamic AF which will help focus on the animal as it moves with predictive tracking.
As wildlife photographer Sam Swartley has said before, it's best to start small! While you may see sprinting cheetahs or grazing elk in the wildlife magazines, wildlife photography isn’t limited to big, impressive mammals. Photographing large animals can be amazing but it can also be prohibitive for beginners. Instead, start small. Start by photographing whatever you have in your area. Venture int your backyard or local park. Try mastering the small guys before using energy and resources to photograph larger, more elusive animals.
 Photo by Sam Swartley
Above all else, safety for yourself and the animals your shooting should be a top priority. Move quietly through the areas and do your best not to disturb the animals. Remember that you are in their territory and your job is to silently observe. Refrain from shouting or throwing objects to get their attention. Wildlife photography is a quiet and often painstakingly slow game so if you’re not prepared to be patient while being quiet, wildlife photography might not be for you.
When photographing large animals, remember that they can often become aggressive. Research the animal you’re shooting and their behaviour patterns as well as what is considered a safe distance between you and the animal. For example, you need to stay at least 100 meters away from bears and wolves and at least 25 meters away from moose, elk, deer and other large mammals. No image is worth the welfare of the animal or your safety.

Disclosure: Some of the links in this article are affiliate links. If you click on a link and make a purchase, we will receive a small commission without any cost to you. We only ever recommend products that we have personally used and can stand behind.
Comments will be approved before showing up.