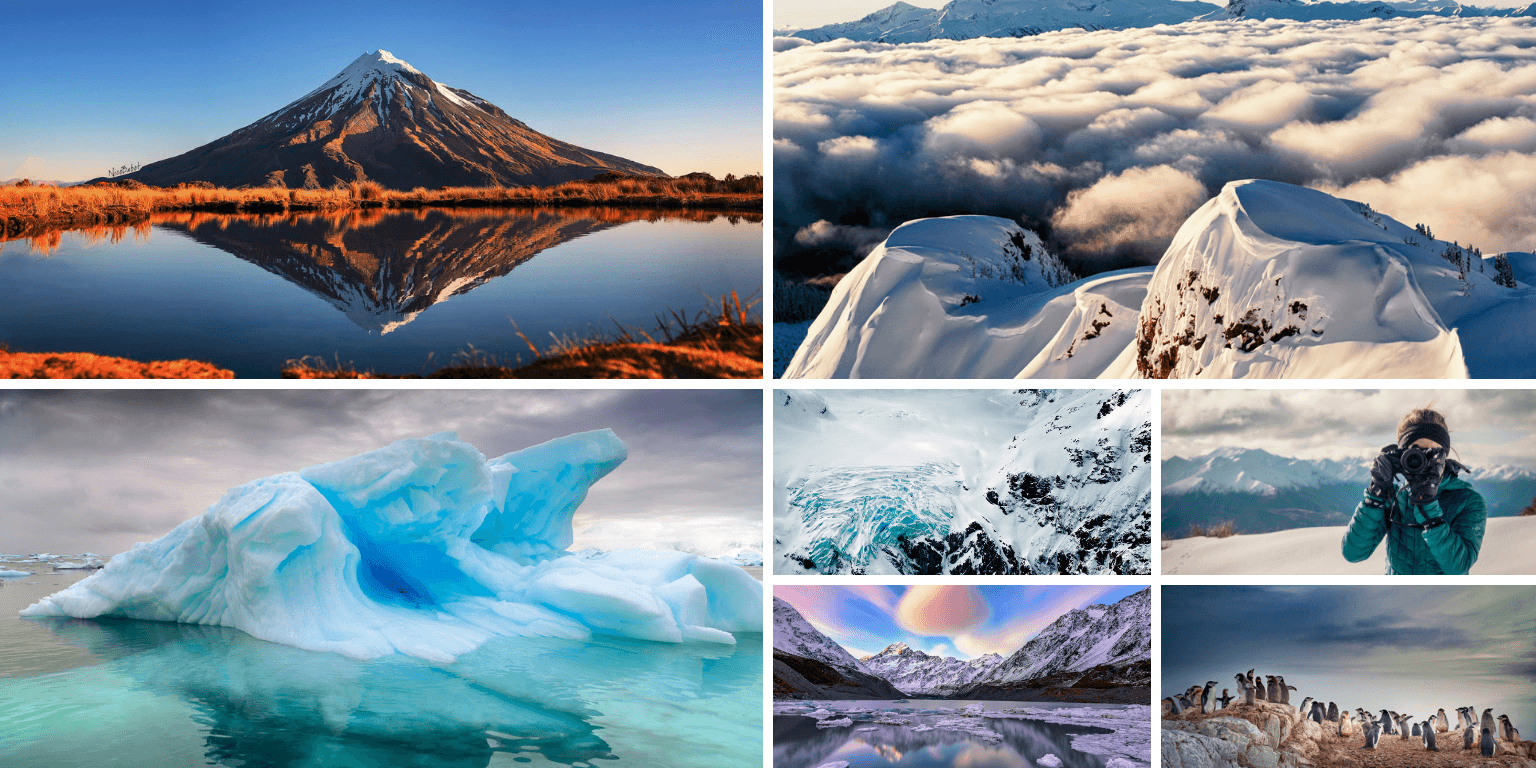
Improving your winter photography can mean wearing the correct clothing (Obviously you should bewearing gloves.. wink wink), planning your shoot, or shooting in the best light possible, but with these 7 steps, we are looking for easy wins to overcome the technical challenges that are present during winter.
Lots of highlights and reflecting light from above and below is by far the main challenge, so let's start there.
1. Shoot to the right
What does this mean? Using your histogram instead of the LCD preview to analyse your images allows you to see if there are details in the highlights or shadows without any misinterpretation from the thumbnail preview. “Shooting to the right” means to have your histogram leaning to the right side or simply put, there are more bright-toned pixels in your image then dark pixels.
How does this make a difference? Your camera wants to create an image that is properly exposed, (your histogram is weighted in the middle) when it meters the scene, it analysis all the pixels and tries to make them balanced. During winter and caused by the snow, your camera sees the majority of the pixels are bright and thus underexposes your overall image to compensate and ends up creating an underexposed shot. The end results in the snow looking grey and sad, with darker objects in your shot being cast into dark black.
The quickest fix for this is to add an exposure compensation of +1 or +2 on your camera, which tells your metering system to take the shot 1 stop brighter. Pow! Your snow is bright and white, your subject has detail and the image pops. For a more in-depth explanation, check out this post on how to read a histogram for winter photography.
2. Shoot Black and White
For a large part of winter, the light is just flat. The grey skies and the white ground create one massive lightbox with no directional light, detail or contrast.
Thus, during these “flat days” shoot black and white and look for images that have good contrast. If you flick your preview screen to black and white whilst you shoot (if you shoot raw, your images will still come out in colour which you edit black and white in the post) you can then see if your shot works without relying on colours to pop the subject out from the background or create depth.
3. Pay Attention To Where You Step
There is no going back once you have you walked through fresh snow. Ok, if you are shooting fine art or landscapes for your own enjoyment, then you can clone out the footprints with photoshop. However, if you are shooting action sports or documenting scenes, then manipulating your image does not give you kudos.
Either way, it’s easier to start shooting from far, then work your way closer to your subject.
4. The “Simple” Rules Still Apply
Leading lines are harder to find during winter because the snow covers everything (this isn’t a given, I know lots of places are cold in winter without snow-covered landscapes, but for the sake of the argument…).
This doesn't mean foreground interest and compositional best practices should be ignored. It just takes a little more imagination. For example, Snow crystals can work as foreground features, the track you made in the snow can act as a leading line or shooting with a longer lens through trees can frame your image.
5. Use Back Lighting to Accentuate The Falling Snow
Using an off-camera flash or any other light source behind your subject really pops out the falling snowflakes. It seems a little counter-intuitive to light it from the back to highlight the falling snow, however, If you light your subject from the front, the falling snow reflects the light which ends up looking like burnt pixels or marks on your lens.
Obviously, this is for certain situations that lend themselves to using external light sources, i.e shooting sports, portraits etc as there are very rare occasions you can find a light source big enough to backlight a mountain at the same time being cloudy and dumping snow.
6. White balance: This is an easy win. Keep it Cool!
Snow is white, not yellow (there is an obvious joke here that I will avoid) and usually a tad on the blue side. Adjust your white balance to be a little ‘cool’ in posts, thus reflecting that cold ambience that you felt when standing there capturing your shot.
Shooting raw and adjusting the white balance in a post is a lot quicker and less complicated than spending time figuring out the Kelvin scale on-site.
7. Split Toning
Post-processing in general adds that finish touch and accentuates all the great parts of your image. This is not new news to intermediate photographers or above. I am merely saying this for the fact of knowing and seeing beginners try to improve their images, but not post-processing at all.
So use the split toning tab in Lightroom. Add Blue in the shadows and orange in the highlights. Keep it subtle and without realising why your image just looks better.
The split toning yanks you in two directions, the blue shadows cool your viewing experience, whilst the highlights warm you up, and boom you feel like you have just eating jalapeno ice cream.
Thanks for sharing this photography tips over here. All the tips and tricks help to capture a stunning photographs.So it is very useful tips that help to create Background, lighting and pose are the most important part of this tips that are really fantastic.Some days ago I read an article about winter-photography but this post is better than post Bikroy ads
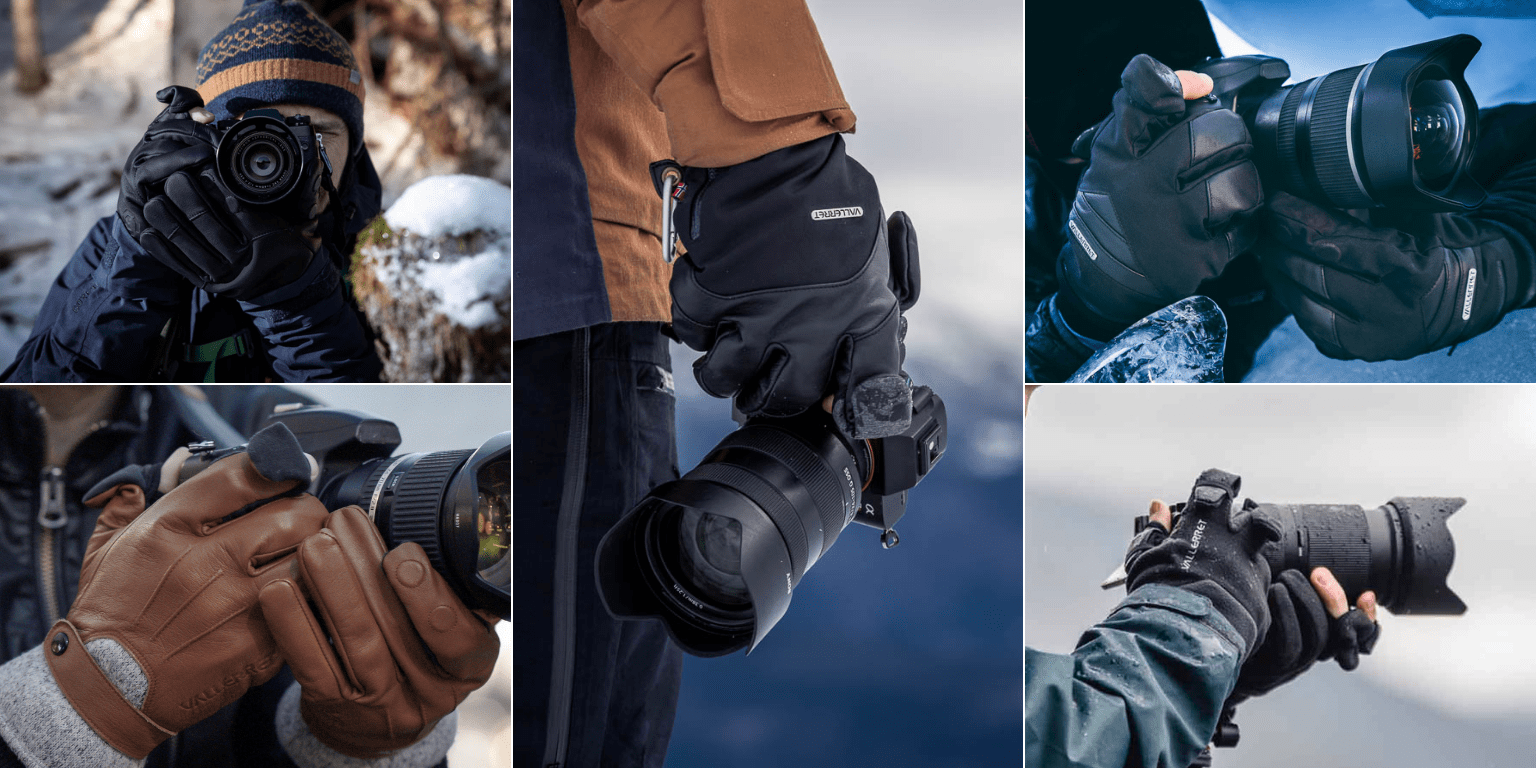
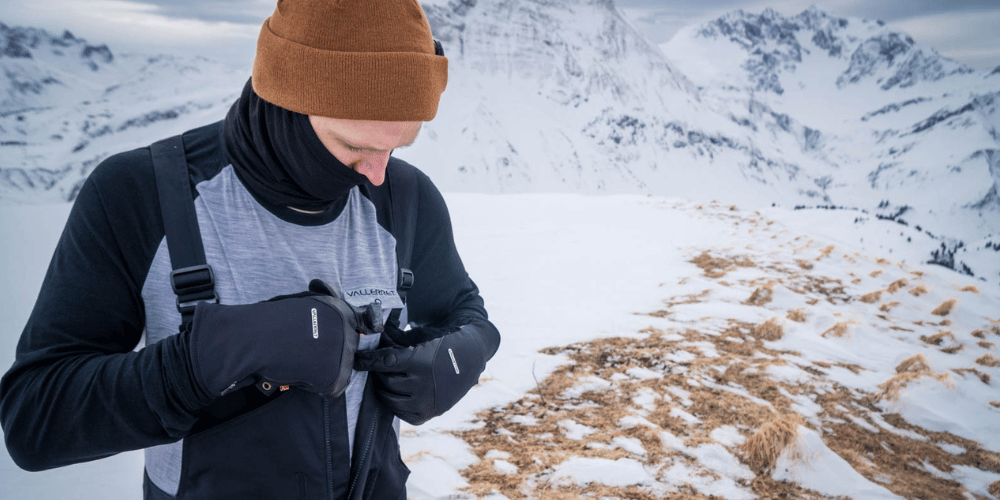
It’s a question we get all the time: What is the best glove for my winter holiday? Whether you’re headed to the Arctic or Japan, we know how crucial it is to have the right gear dialed in before you hop on that plane. There’s nothing worse than investing in gear that doesn’t work for you. Finding a glove that works best for everyone can be tricky but we’ve learned some tips over the years to help you get the right glove for your winter holiday.
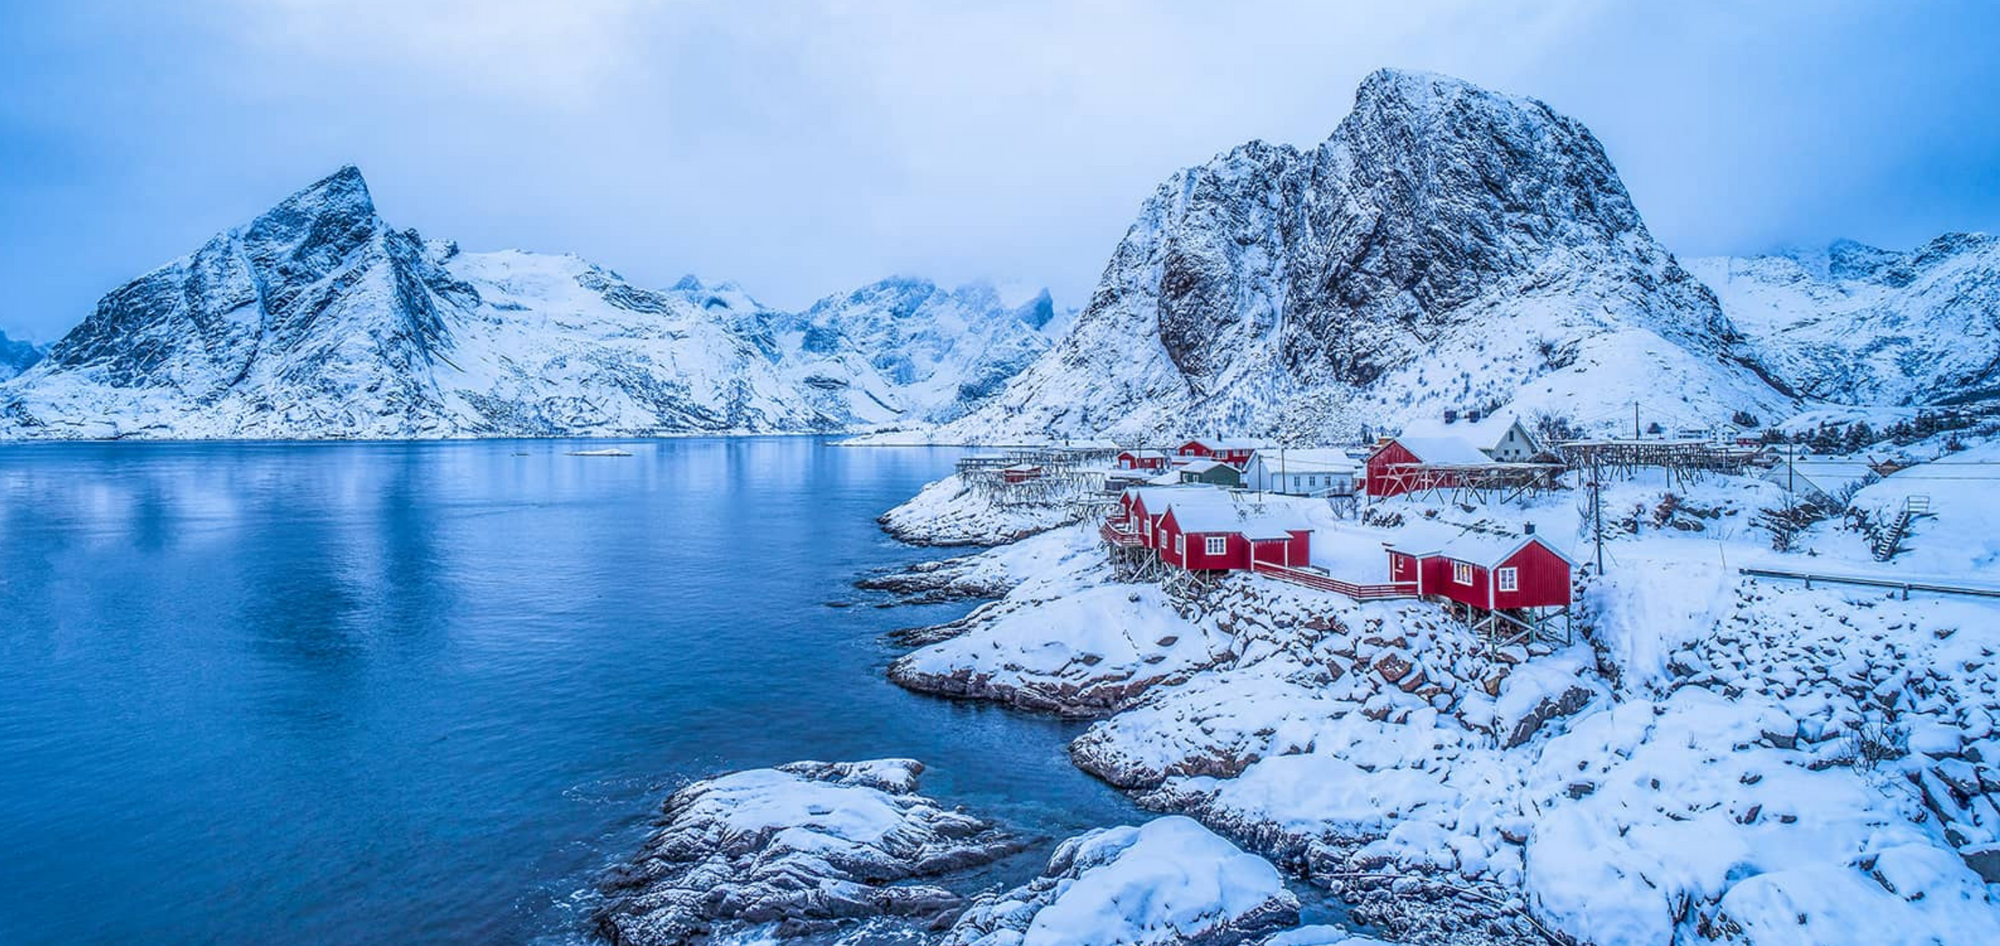
This Black Friday we are once again donating all profits from sales to The Norwegian Society for Conservation to help preserve one of the most iconic and recognizable photography locations on the planet: Lofoten. Visiting Lofoten is a dream for most photographers but this pristine location is at constant threat and the NSC is working to keep Lofoten wild. Read more to see how you can help.
It’s that time of the year. The fireplaces are roaring, the snow is falling and everyone is scrambling to find the perfect gift for their loved ones this year. As fellow photographers ourselves, we know how hard buying for a photographer can be. If you’re left confused by the technical jargon and tech specs of products you don’t understand then you’re in luck. Read on for our gift recommendations.


Bikroy Ads
November 12, 2018
Thanks for sharing this photography tips over here. All the tips and tricks help to capture a stunning photographs.So it is very useful tips that help to create Background, lighting and pose are the most important part of this tips that are really fantastic.Some days ago I read an article about winter-photography but this post is better than post Bikroy ads